Creating a User profile
This feature is available in Accelerator version 26.2.3. Contact your Customer Success Manager (CSM) for more information.
Overview
A user profile is a customer attribute dictionary that defines which customer data fields are available inside journey tiles and messages. This article walks you through creating and managing user profiles in Accelerator.
For a conceptual overview of what user profiles are and how they relate to audiences and journeys, see About user profiles.
Create a user profile
Creating and managing user profiles requires the System Admin role. Managed Data Schema must be configured before you can create a user profile. For setup instructions, see Managed Data Schema.
Step 1: Create a profile
User profile creation is located under Admin → Data → User Profiles.
The User Profiles list page displays all existing profiles with the following columns:
| Column | Description |
|---|---|
| Name / Description | The profile name and optional description. Profiles designated as default show a Default tag next to the name. |
| Data connection | The warehouse connection the profile query runs against. |
| Journeys using it | The number of active journeys currently using this profile. |
| Last modified | The date and user who last edited the profile. |
| Edit | Opens the profile for editing. |
Click Create user profile.
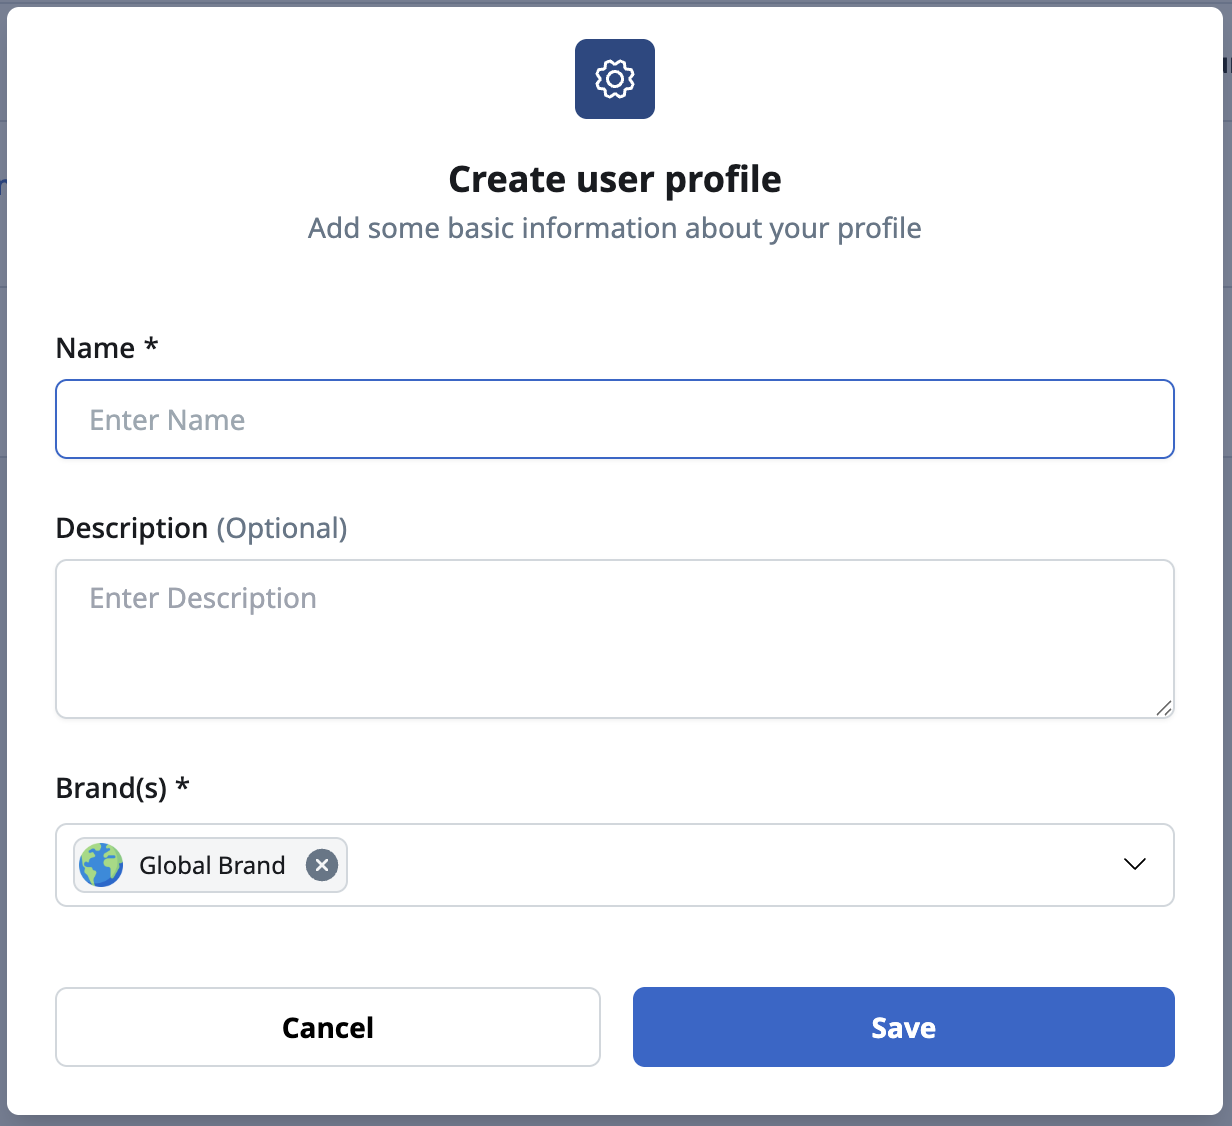
Enter a name and description
- In the Name field, enter a name for the profile (required)
- In the Description field, enter an optional description
Choose a name that reflects the data set or use case this profile covers — for example, "Email subscribers — US" or "Loyalty program members." Names appear in the journey entry configuration, so clarity helps journey authors select the right profile.
Select a brand
In the Brand field, select the brand workspace this profile belongs to (optional).
User profiles are filtered by brand workspace on the list page, matching the behavior of other Accelerator assets. If your Accelerator instance uses brand workspaces, associating the profile with the correct brand ensures it appears for the right teams.
Step 2: Select a database connection
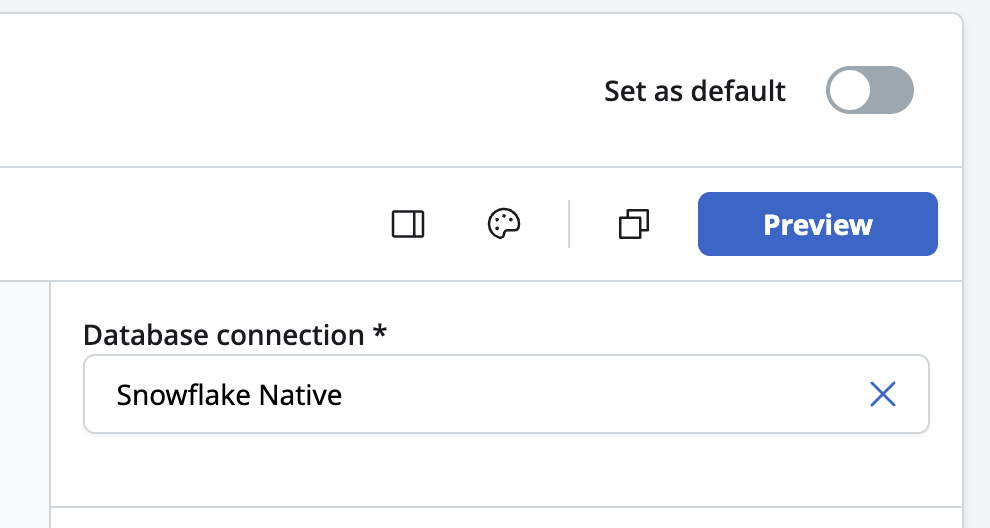
In the Database connection field, select the warehouse connection your profile query will run against (required).
The database connection you select here must match the connection used by the Managed Data Schema configuration and the audiences you plan to use with this profile. All three must share the same connection. For more information, see The single-warehouse constraint.
Only native warehouse connections appear in this list. If your connection does not appear, confirm it is configured as a native connection type in Admin → Data → Database Connections.
Step 3: Add the profile query
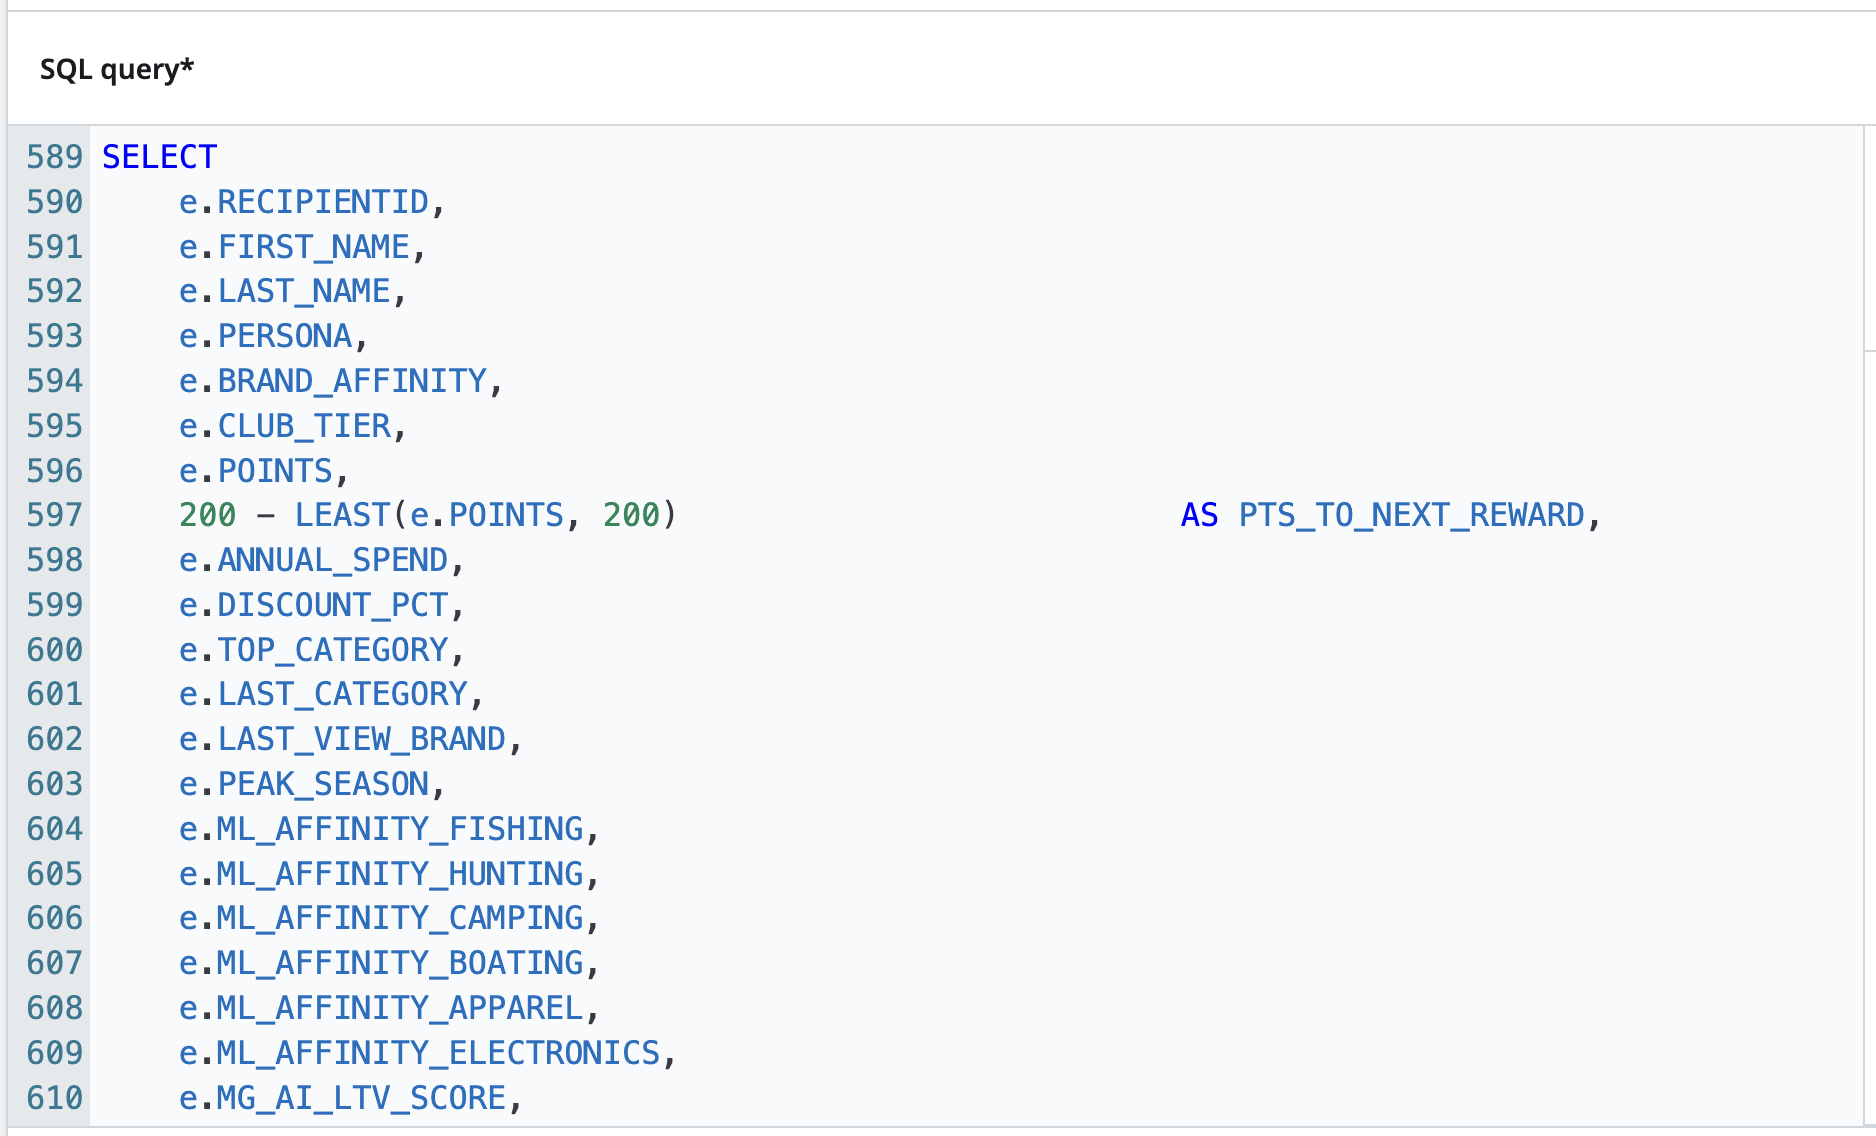
In the Query field, enter a SQL query that returns the attributes you want available in journey tiles (required).
Your query must return at minimum a column that can be mapped to RecipientId. Beyond that, return any columns you want journey tiles to have access to — loyalty tier, city, last purchase date, preferred channel, or any other attribute relevant to your journey logic.
Example query
SELECT
    RECIPIENTID,
    EMAILADDRESS,
    SMSADDRESS,
    APP1_MOBILEUSERID,
    APP2_MOBILEUSERID,
    PREFERRED_CHANNEL,
    LOYALTY_TIER,
    CITY,
    STATE,
    POSTAL_CODE,
    LAST_PURCHASE_DATE,
    AFFINITY_BEDDING,
    AFFINITY_DINING,
    AFFINITY_KITCHEN
FROM
    MARKETING.CUSTOMER_PROFILES
WHERE
    EMAIL_OPTIN = true OR SMS_OPTIN = true OR MOBILE_OPTIN = true
Example query
SELECT
    e.RECIPIENTID,
    e.FIRST_NAME,
    e.LAST_NAME,
    e.PERSONA,
    e.BRAND_AFFINITY,
    e.CLUB_TIER,
    e.POINTS,
    e.PTS_TO_NEXT_REWARD,
    e.ANNUAL_SPEND,
    e.DISCOUNT_PCT,
    e.TOP_CATEGORY,
    e.LAST_CATEGORY,
    e.LAST_VIEW_BRAND,
    e.PEAK_SEASON,
    e.ML_AFFINITY_FISHING,
    e.ML_AFFINITY_HUNTING,
    e.ML_AFFINITY_CAMPING,
    e.ML_AFFINITY_BOATING,
    e.ML_AFFINITY_APPAREL,
    e.ML_AFFINITY_ELECTRONICS,
    e.MG_AI_LTV_SCORE,
    e.MG_AI_PURCHASE_SCORE,
    e.SIGNUP_DTTM,
    e.NEW_MEMBER,
    e.POST_PURCHASE,
    e.PURCHASE_FLG,
    e.CART_FLG,
    cd.CART_DETAILS,
    ca.CAMPAIGN_ACTIVITY,
    lce.LAST_CAMPAIGN_ENGAGEMENT,
    pv.PRODUCTS_VIEWED,
    e.LAST_PURCHASE_DTTM,
    pa.PURCHASE_AMOUNTS,
    e.ACTIVITY_OPEN_DTTM,
    e.ACTIVITY_CLICK_DTTM,
    e.ACTIVITY_WEB_DTTM,
    e.LAST_MESSAGE_ENGAGE_FLG,
    e.LAST_MESSAGE_CHANNEL,
    e.LAST_MESSAGE_DTTM,
    e.OPTIMAL_SEND_DTTM,
    e.NEXT_OPTIMAL_SEND_DTTM,
    e.OPTIMAL_TIME_OFFSET,
    e.MKTG_CONSENT_FLG,
    e.MKTG_EMAIL_FLG,
    e.MKTG_SMS_FLG,
    e.MKTG_PUSH_FLG,
    e.MOBILE_APP_FLG,
    e.BEST_CHANNEL,
    e.TEST_QUARTILE,
    e.TEST_DECILE,
    e.ADDRESS,
    e.CITY,
    e.STATE,
    e.POSTAL_CODE,
    e.COUNTRY_CODE,
    e.LOCALE,
    COALESCE(
        TRY_TO_DATE(CONCAT(
            YEAR(CURRENT_DATE())::VARCHAR, '-',
            LPAD(MONTH(e.DOB)::VARCHAR, 2, '0'), '-',
            LPAD(DAY(e.DOB)::VARCHAR, 2, '0')
        ), 'YYYY-MM-DD'),
        -- Feb 29 on a non-leap year → fall back to Feb 28
        DATE(CONCAT(YEAR(CURRENT_DATE())::VARCHAR, '-02-28'))
    )                                                   AS BIRTHDAY,
    e.EMAILADDRESS,
    e.APP1_MOBILEUSERID,
    e.APP2_MOBILEUSERID,
    e.SMSADDRESS

FROM customer e
JOIN cart_details           cd  ON cd.RECIPIENTID  = e.RECIPIENTID
JOIN campaign_activity      ca  ON ca.RECIPIENTID  = e.RECIPIENTID
JOIN last_campaign_engagement lce ON lce.RECIPIENTID = e.RECIPIENTID
JOIN products_viewed        pv  ON pv.RECIPIENTID  = e.RECIPIENTID
JOIN purchase_amounts       pa  ON pa.RECIPIENTID  = e.RECIPIENTID
WHERE
e.EMAIL_OPTIN = true OR e.SMS_OPTIN = true OR e.MOBILE_OPTIN = true
;
Keep the query focused on the attributes your journeys actually need. Returning unnecessary columns increases the data joined at evaluation time without adding value in the canvas. For guidance on query design, see User profile best practices.
Step 4: Preview the User profile results
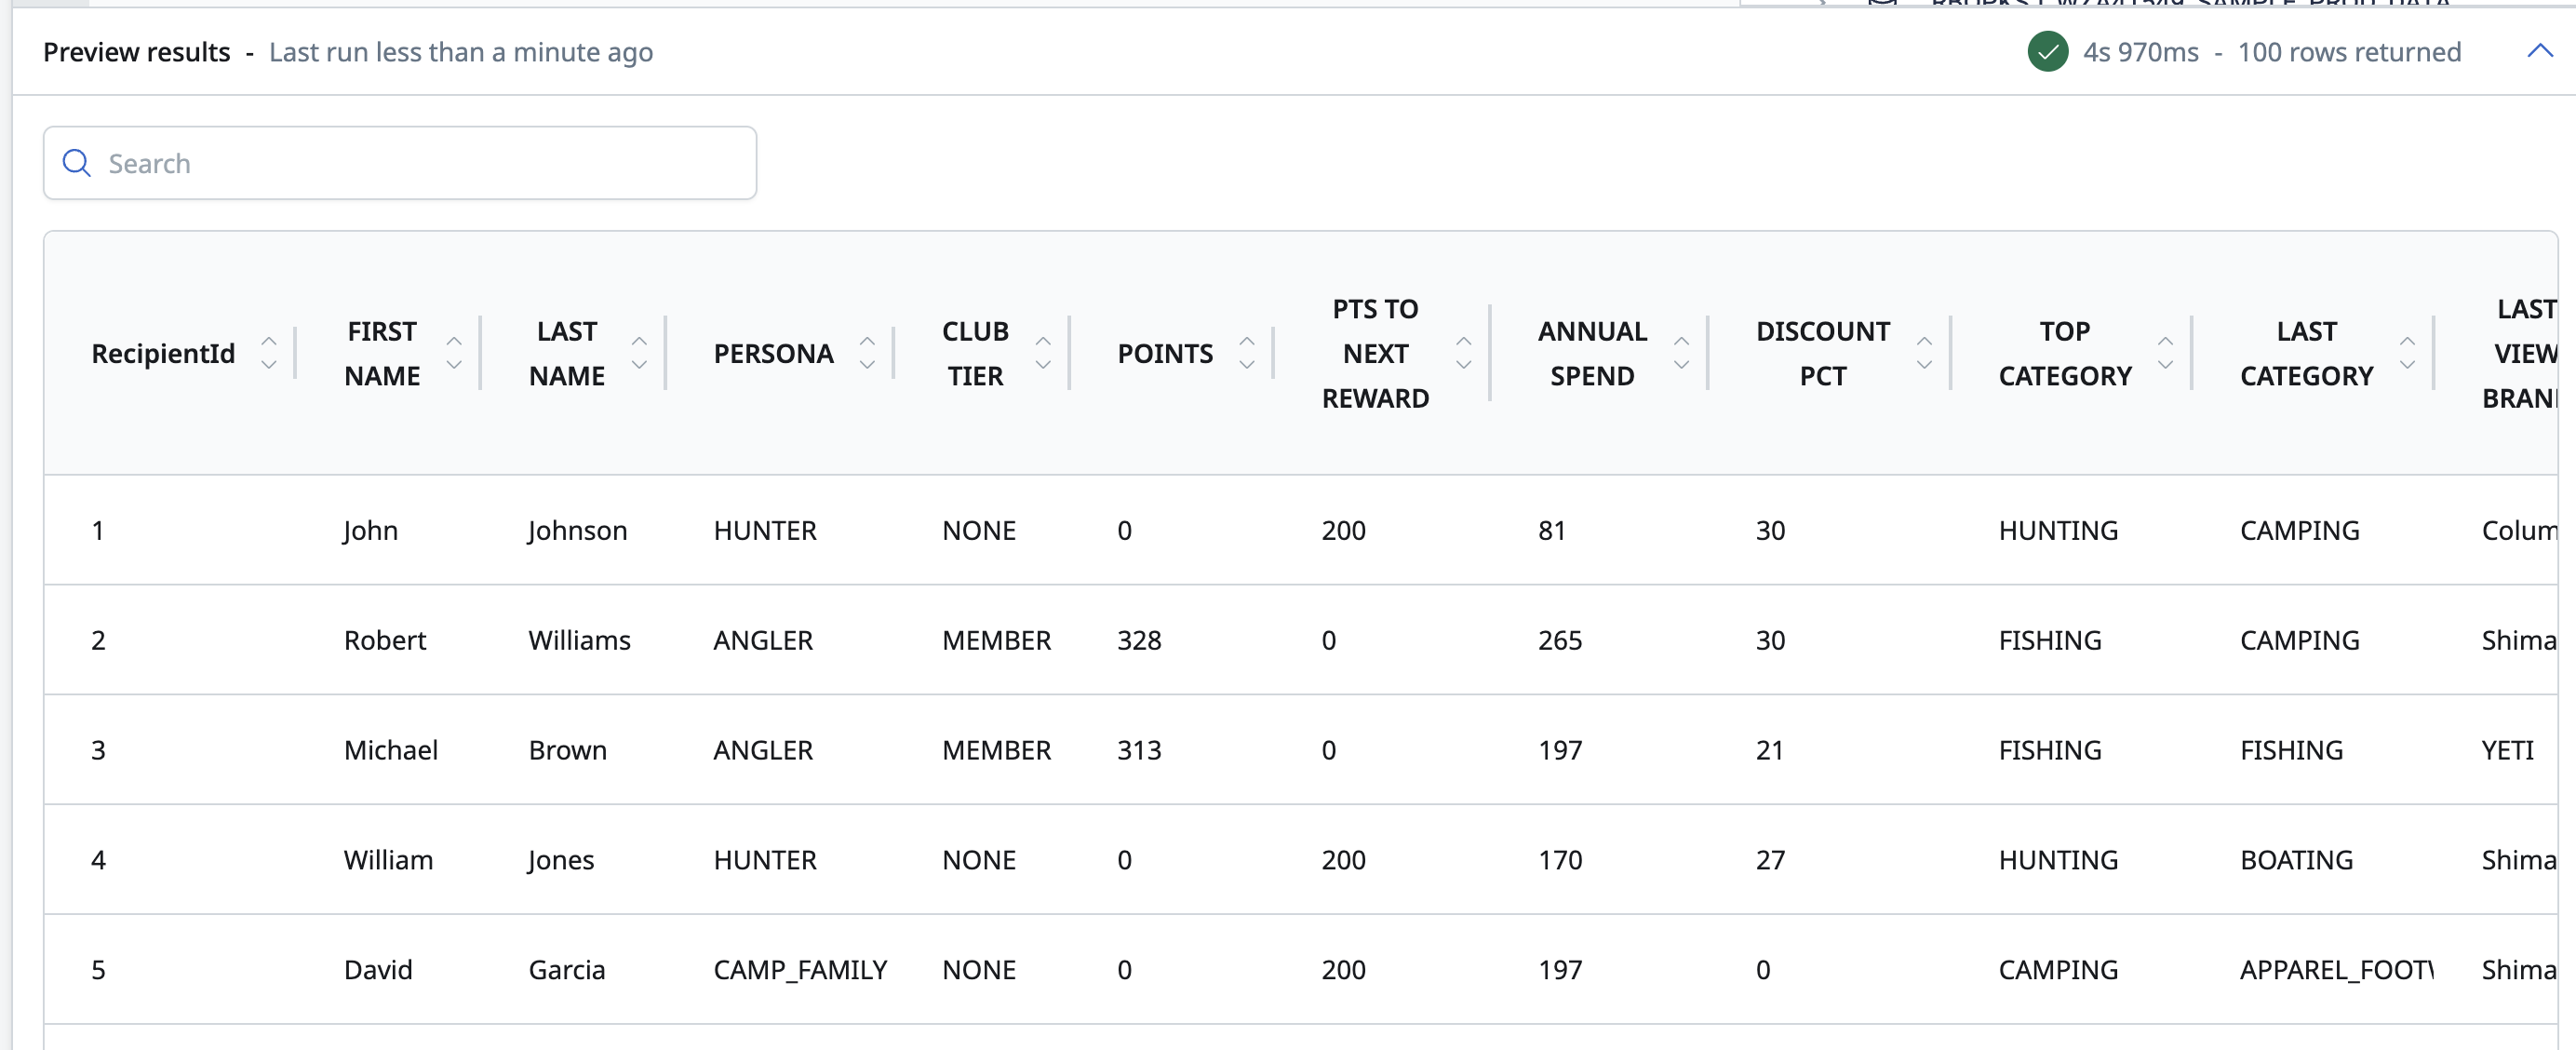
Click Preview to see a sample of the User profile customer membership and attributes.
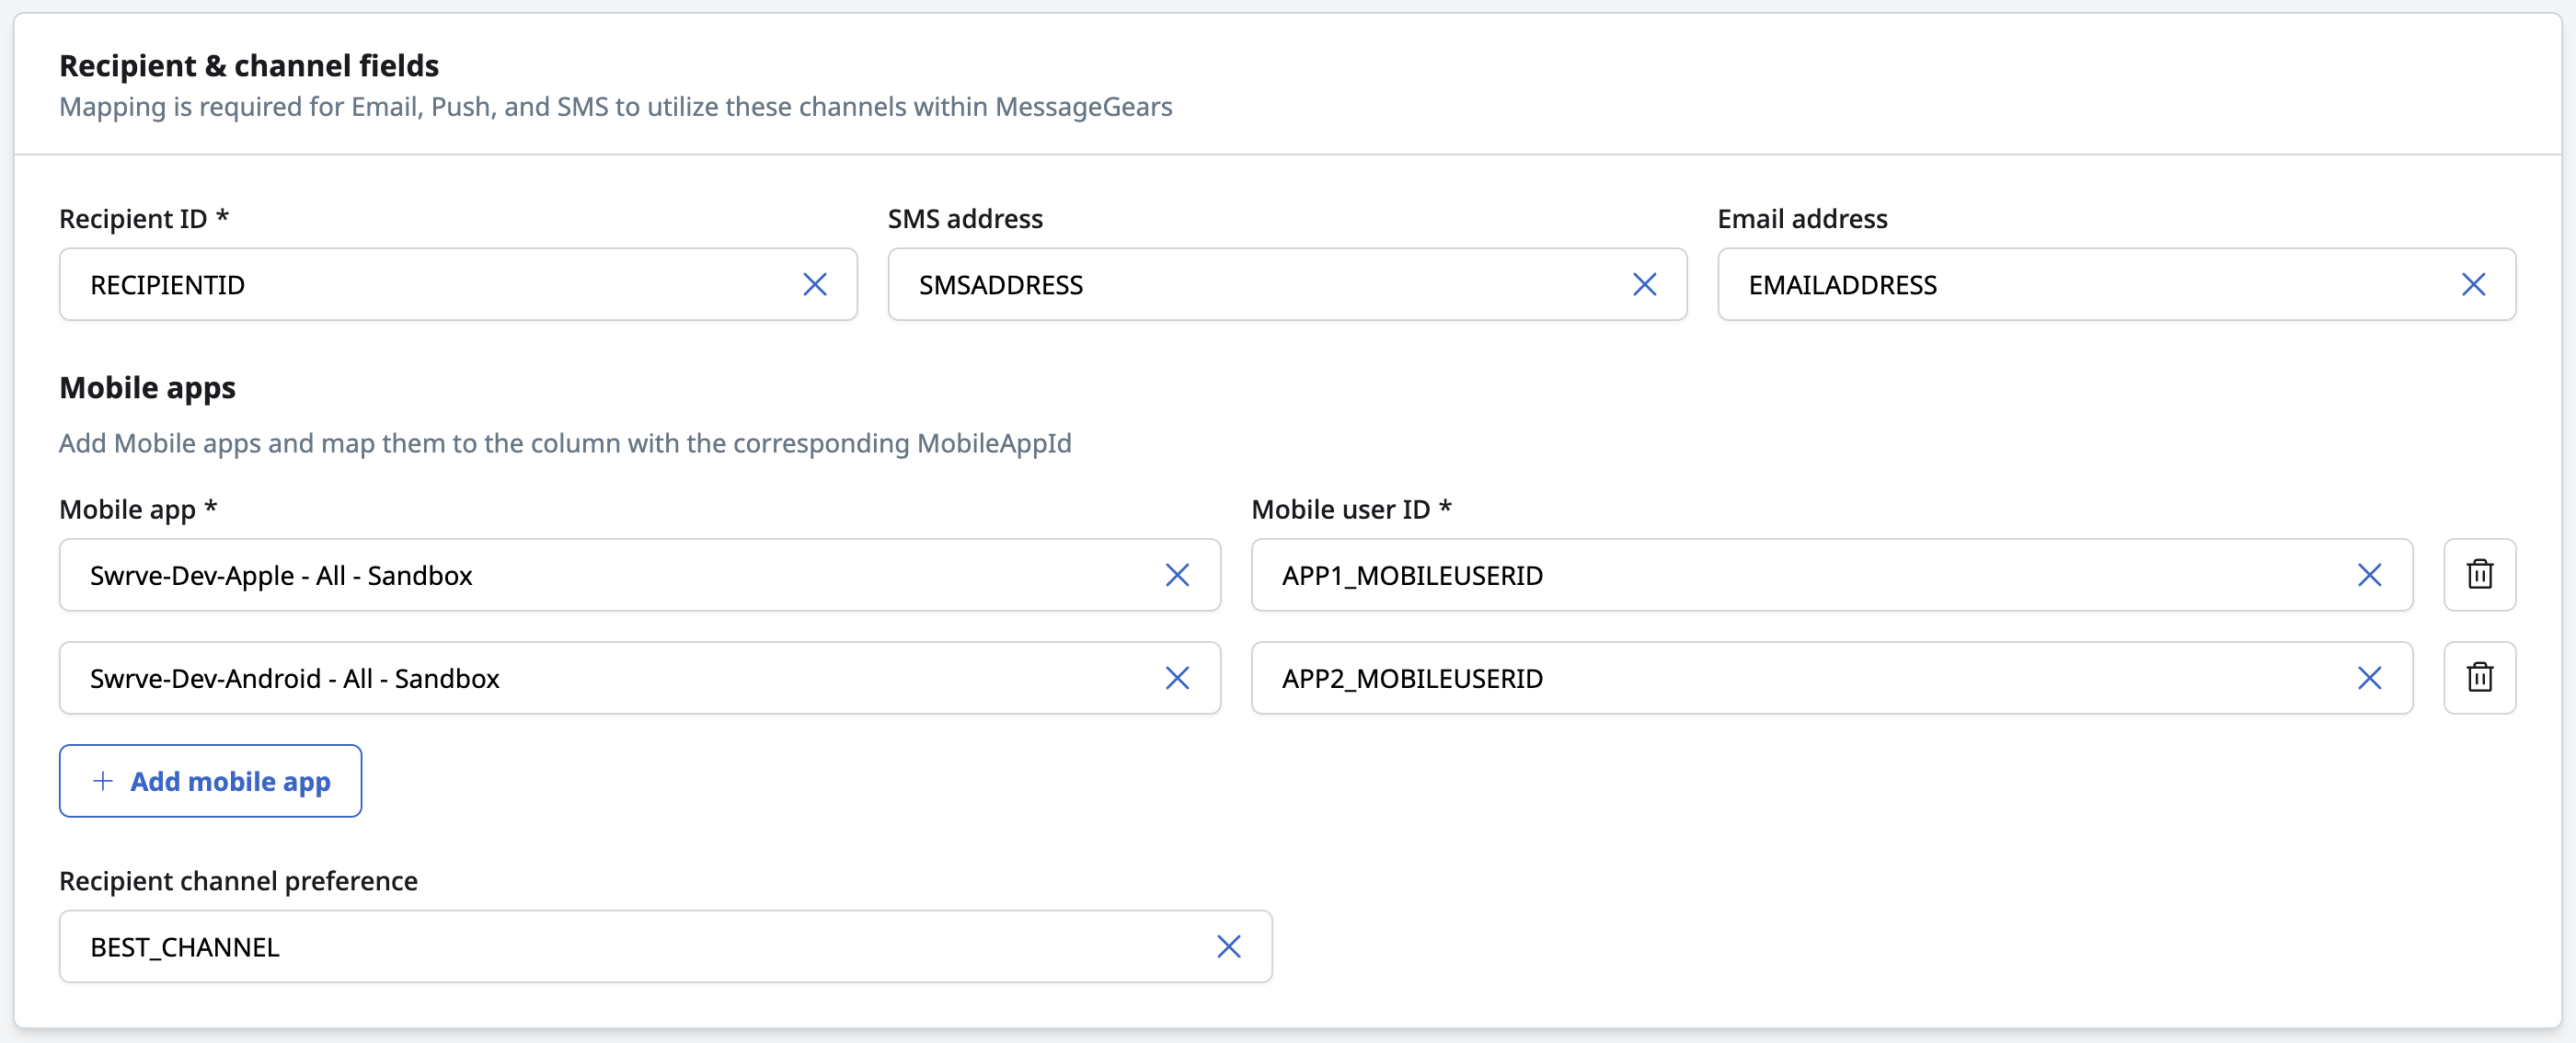
Step 5: Map required fields
In the Mapped fields section, map the columns returned by your query to the required and optional MessageGears fields.
Recipient ID (required)
Map the column from your query that contains the unique recipient identifier. This value must match the RecipientId used in the audiences associated with journeys that use this profile. If the values do not align, profile rows will not join to journey members correctly and members will be existed from the journey.
Email address (optional)
Map the column that contains the email address for each recipient. This field is used by Email activation tiles to address outbound messages. If this field is not mapped, Email tiles will count recipients without an email address as content errors.
SMS address (optional)
Map the column that contains the SMS-capable phone number for each recipient. This field is used by SMS activation tiles. If this field is not mapped, SMS tiles will count recipients without an SMS address as content errors.
Mobile User Id(s) (optional)
Map the column that contains the mobile user identifier(s) for each recipient, for each mobile app. This field is used by Push activation tiles. MobileUserId supports per-app configuration — if users have multiple mobile apps, you can configure a separate mapping for each app's identifier.
Recipient channel preference
Map the column that contains the preferred or best contact channel for each recipient. This field is used by multi-channel activation tiles.
Step 6: Set as default (optional)
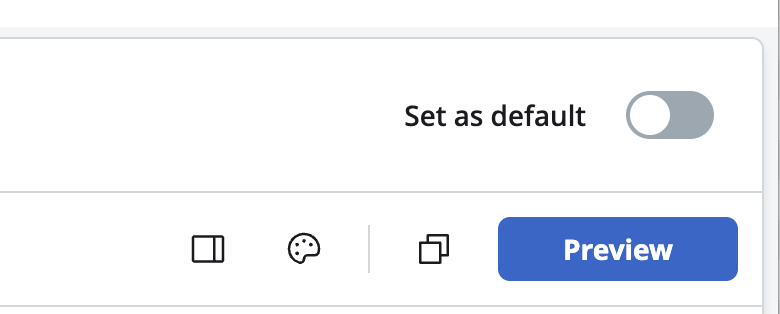
Only one profile can be designated as the default at a time. Designating a new profile as default removes the default designation from the previously designated profile.
Select Set as default if you want this profile to be automatically selected when a journey builder configures a new journey entry node.
Step 7: Save the user profile
Click Save.
The profile appears on the User Profiles list page and is available for selection in journey entry configuration.
Edit a user profile
Changing the database connection or query of a user profile that is actively used by running journeys will affect those journeys at their next evaluation cycle. Review which journeys are using the profile (visible in the Journeys using it column) before making changes.
When in doubt, create a new profile rather than editing an existing one if running journeys could be affected.
To edit an existing user profile, navigate to Admin → Journeys → User Profiles and click Edit in the row of the profile you want to change.
All fields are editable after creation, including the database connection, query, and field mappings.