Creating a new Audience Recording
Overview
Audience Recording writes the exact state of your recipients to a table in your data warehouse, which helps to make customer data more reliable and actionable. You can use an audience recording with the following campaign types:
- Marketing campaigns
- External campaigns
- Experiments
- Journeys, starting in Accelerator version 26.4.1
How Accelerator writes rows depends on the campaign type. For a campaign, Accelerator records each recipient when the campaign sends. For a journey, Accelerator writes a row each time it evaluates a user at a tile, so the recording builds up a history of each user's path through the journey. For more information, see Journey audience recording overview.
You configure audience recordings in the Admin section. They're intended to be used across many or all of your campaigns and journeys. Audience recording is available only on a Native Database Connection.
For a campaign, the audience can be a Message Audience (SQL, API, or S3) or a Segment Blueprint. A Blueprint is similar to a Message Audience because it starts off with a SQL-based "Population." However, Blueprints can add additional fields called "Labels" to your resulting data for Audience Recording. For a journey, recipient attributes come from the journey's user profile.
Set-up New Audience Recording
Only Native Connections will work as this section.
-
To set up a new Audience Recording in Accelerator, navigate to Admin tab > Audience Recording.
-
Select Create audience recording.
-
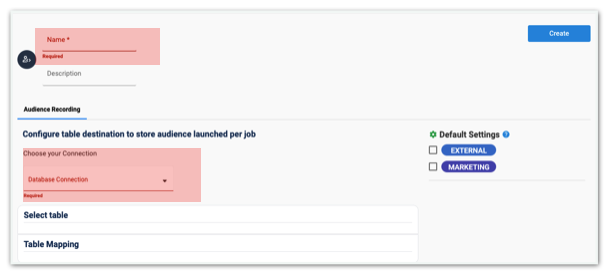
Give the new Audience Recording a Name and then select your Database Connection.
-
Choose your Project/Database
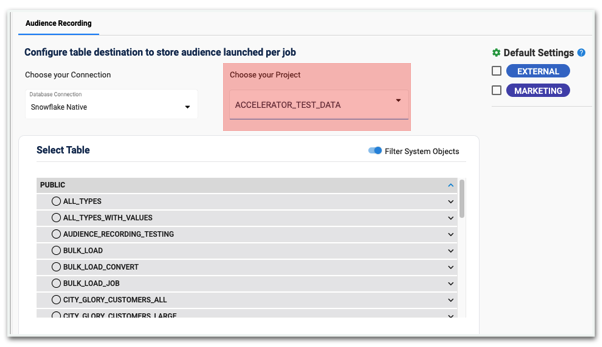
The next steps in this process will involve selecting a Table. For this, you will need to navigate through the database explorer to find the correct schema and table for your project.
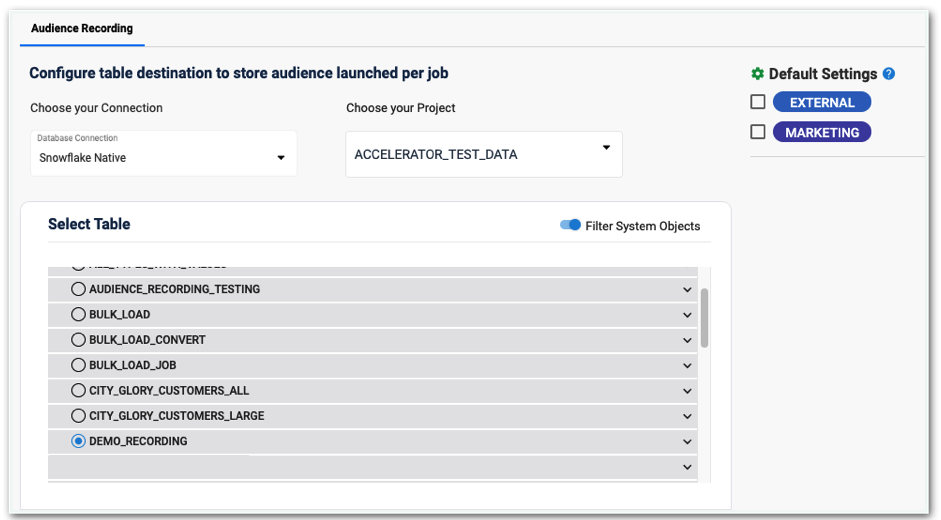
The database explorer will show every table that the specific connection has access to. If you don’t see your desired table, check your user, role, or service account permission settings.
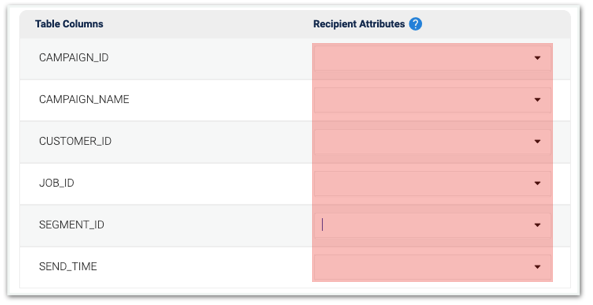
After the Table has loaded, you’ll begin to map your fields as desired. There are essentially two types of fields to map:
- Recipient attributes/fields from your Audience
Accelerator has Auto-generated fields (from FreeMarker) preloaded into the Recipient Attributes selection dropdowns. The Recipient attributes/fields need to be typed in, following the same casing structure from the resulting Audience or Blueprint fields
Macros
In addition to your audience's fields, the Recipient attributes dropdown lists macros that record details about the send or evaluation, such as the campaign name or the launch time. Map a macro to a column the same way you map a recipient field.
The dropdown lists every macro, whichever way you use the recording. Some macros work only for campaigns, and others only for journeys, so map only the macros that match how you use the recording.
| Macro type | Examples | Campaigns | Journeys |
|---|---|---|---|
Campaign job macros, ${job.*} | ${job.campaignId}, ${job.campaignName} | Yes | No |
Gears macros, ${Gears.*} | ${Gears.campaignLaunchDateTime}, ${Gears.date?string("yyyy-MM-dd HH:mm:ss")} | Yes | Yes |
Journey evaluation macros, ${evaluation.*} | ${evaluation.journeyId}, ${evaluation.journeyName}, ${evaluation.nodeId}, ${evaluation.nodeName}, ${evaluation.correlationId} | No | Yes |
${job.*} macros work only in campaigns, and ${evaluation.*} macros work only in journeys. A macro that isn't available causes an error. Configure a separate audience recording for campaigns and for journeys.
For more information about Gears macros, see Gears macros. For what each journey evaluation macro returns, see Journey audience recording overview.
Set a default audience recording
You can set an audience recording as the default for one or more campaign types: External, Marketing, Experiments, and Journeys. When you create a campaign or journey of that type, Accelerator selects the default audience recording for you. For a journey, Accelerator also turns on audience recording in the journey's entry settings.
To set a default, select one or more campaign types under Default settings, in the upper-right corner of the audience recording.
Don't set the same audience recording as the default for both Journeys and a campaign type. A recording mapped with ${job.*} macros fails in journeys, and a recording mapped with ${evaluation.*} macros fails in campaigns. For more information, see Macros.
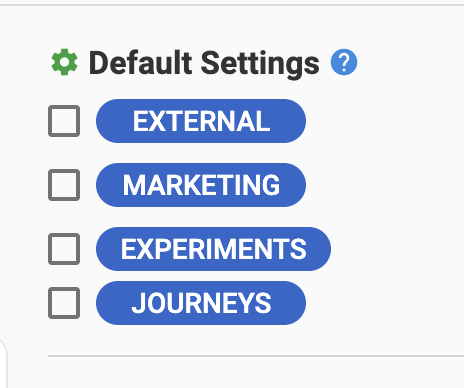
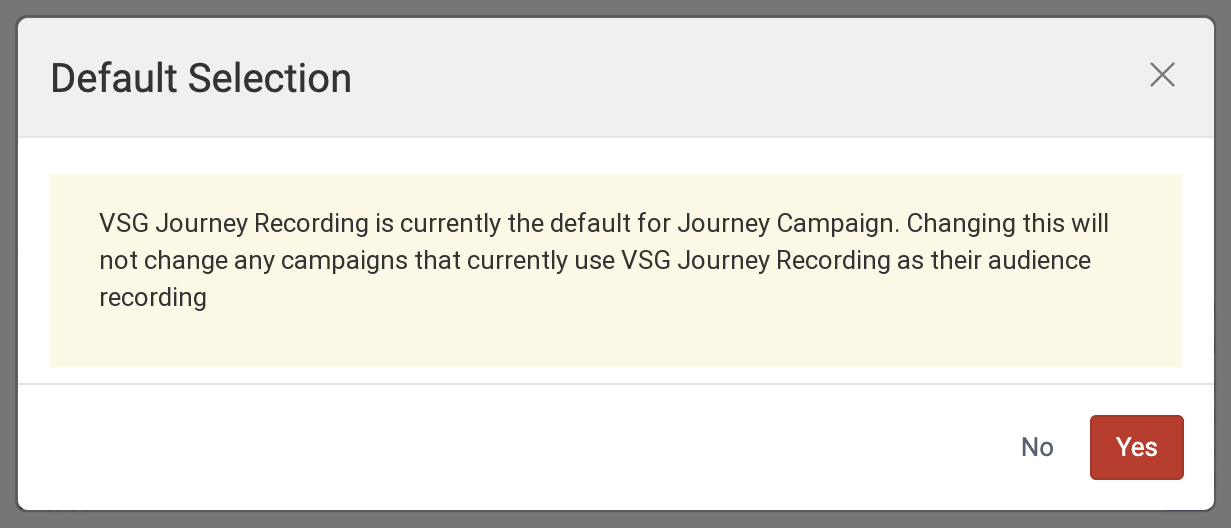
Each campaign type can have one default audience recording at a time. If another audience recording is already the default for a type you select, Accelerator asks you to confirm the change. Campaigns and journeys that already use the earlier default keep it.
You can now select Create, from the upper-right corner, and complete the set-up for your new Audience Recording.
View Audience Recording List
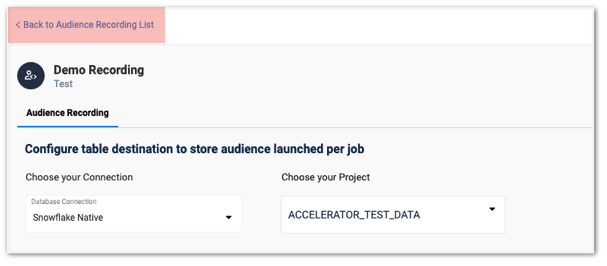
After completing the set-up for your Audience Recording, go to the left corner of the screen and select "Back to Audience Recording List" to view the audience recording. It will be a pinned file at the top of the table, so it should be easy to find.
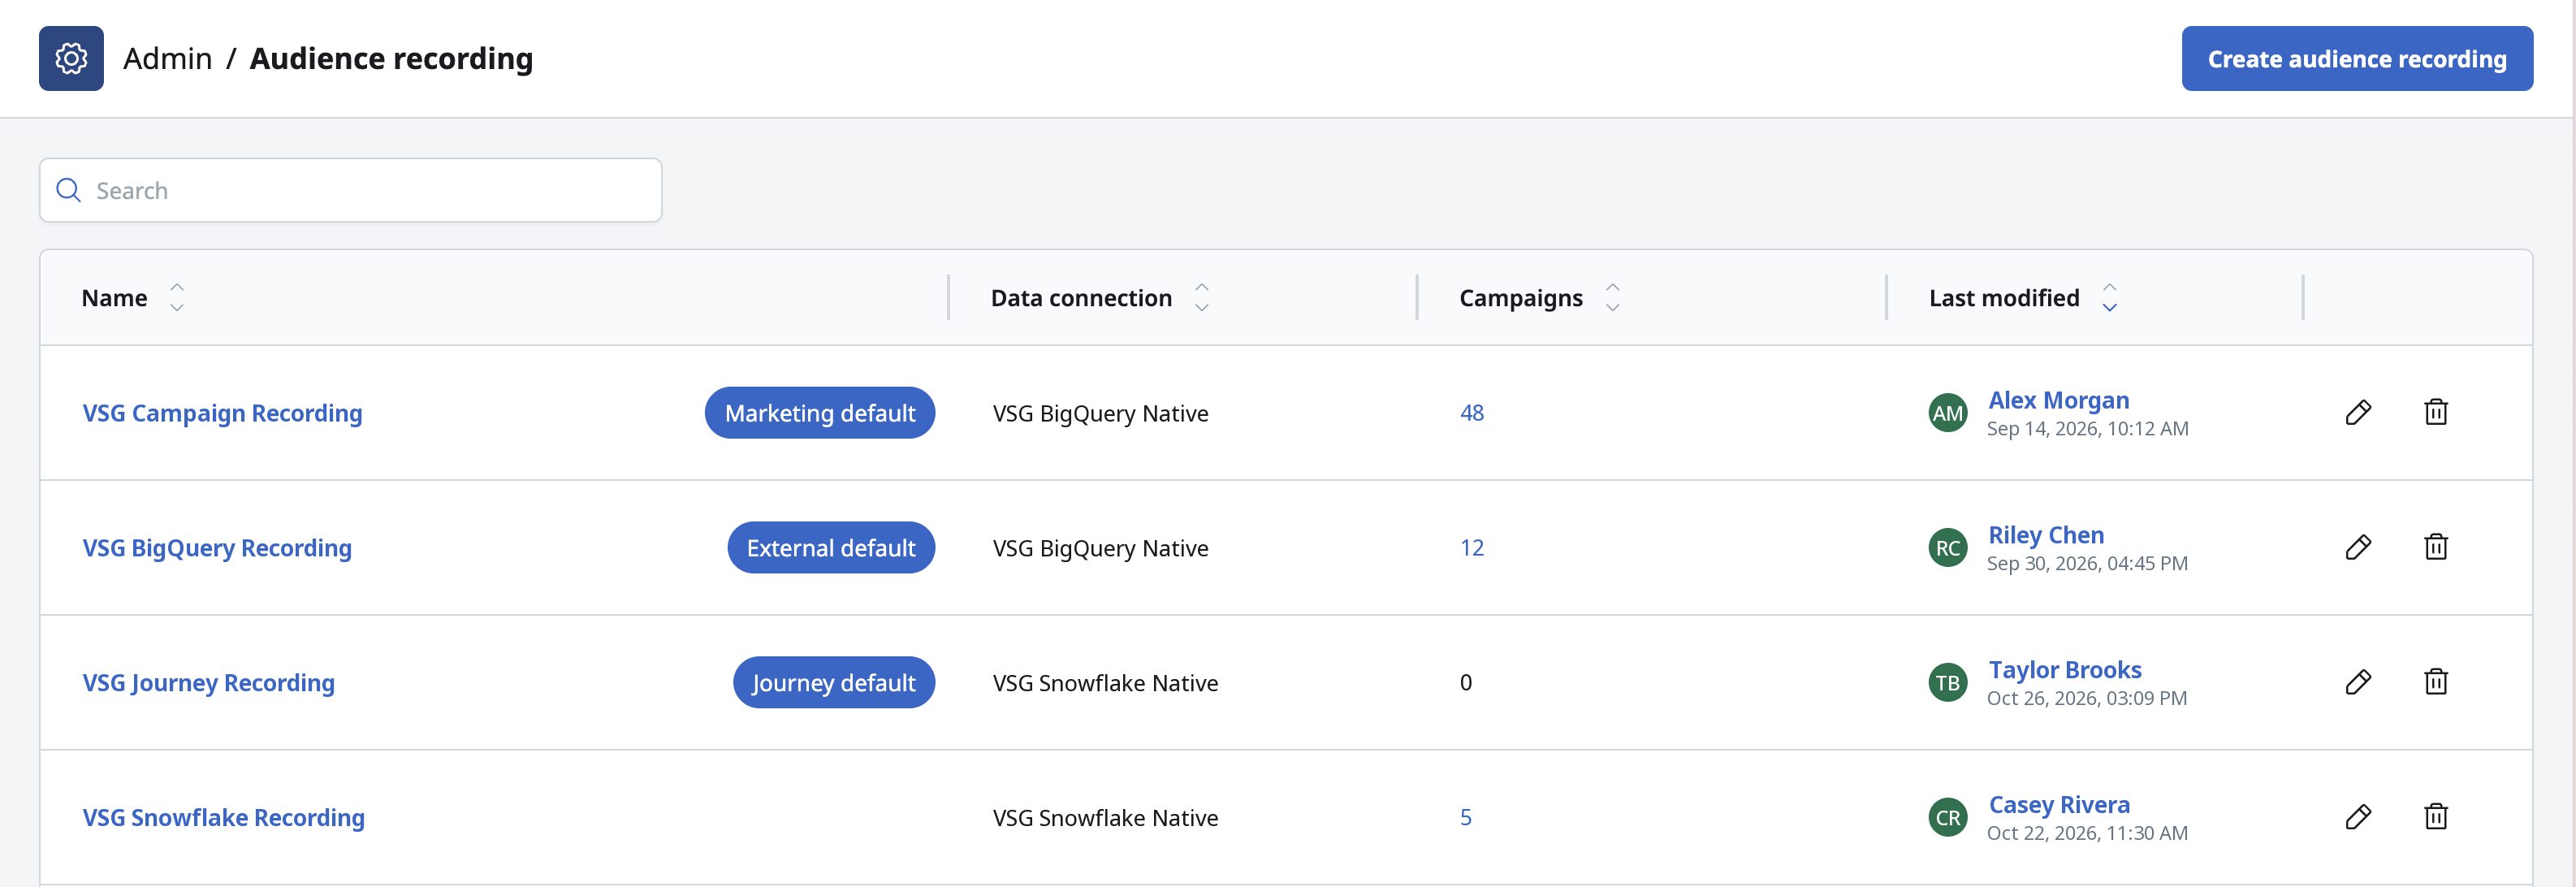
An audience recording that's set as a default shows a chip next to its name for each campaign type it's the default for, such as Marketing default, External default, or Journey default.
Deleting an Audience Recording
You can delete an audience recording that you no longer need. Deleting it removes it from the Audience recording list and from the audience recording dropdown in campaign and journey settings.
To delete an audience recording:
- In the Accelerator navigation, select Admin > Audience Recording.
- On the audience recording's row, select the trash icon.
- To confirm, select Confirm.
Accelerator displays a success message and removes the audience recording from the list.
Audience recordings in use
You can't delete an audience recording that's in use. An audience recording is in use when it's selected on a campaign or a journey. For an audience recording that's in use, the trash icon is unavailable, and hovering over it shows Audience recording in use. To delete the audience recording, first select a different audience recording on each campaign and journey that uses it.
If you try to delete an audience recording that's selected on a journey, Accelerator lists the journeys that use it.
Default audience recordings
You can delete an audience recording that's set as a default, as long as no campaign uses it. Accelerator doesn't set another audience recording as the default for you. To keep a default for that campaign type, select a new default. For more information, see Set a default audience recording.
Apply an audience recording
After you set up an audience recording, select it on each campaign or journey you want to record. If the audience recording is the default for that campaign type, Accelerator selects it for you when you create the campaign or journey.
Where you select the audience recording depends on the campaign type:
| Campaign type | Where to select the audience recording | More information |
|---|---|---|
| Marketing campaigns | In the Who card, turn on Audience Recording and select the audience recording. | Marketing campaigns |
| External campaigns | On the Settings tab, open the advanced settings and select the audience recording. | External campaigns |
| Experiments | On the settings page, expand View Advanced Options and select the audience recording. | Experiment campaign set-up guide |
| In-app message campaigns | In the Who section's advanced options, turn on Audience recording and select the audience recording. Available for the Audience or Blueprint audience type. | In-app message campaigns |
| Journeys | In the journey's Entry settings, turn on Audience recording and select the audience recording. | Journey audience recording overview |
Select an audience recording that's configured for the way you use it: one with campaign macros for a campaign, and one with journey evaluation macros for a journey. For more information, see Macros.