Supplemental Data
Overview
Supplemental data (formerly called Context Data in Accelerator) is a feature that allows you to pull contextual data or content from an external data source outside of your Audience/Recipient data. Supplemental Data is a way of combining auxiliary data with personal Recipient data for dynamic Templates and can be used anywhere FreeMarker is supported.
For more information on Supplemental Data and common uses, read Supplemental Data vs Hosted and External Data.
This article provides an overview of the types of Supplemental Data that is used by MessageGears and outlines the process of implementing Supplemental Data for auxiliary information. In this example, City & Glory, a retail company, wants to include personalized information and store information within one Template. The customer information is accessed through Audience data and the store information is accessed through Supplemental Data as this data is stored in a separate database.
Message must be activated for this feature.
Types and Uses of Supplemental Data
The following will provide you with a basic overview of Supplemental Data, this is not a step-by-step guide of setting up these configurations, but a breakdown of the different methods of approaching Supplemental Data.
There are three types of Supplemental Data, Relational Data, Coupon Data, and HTML Data.
Relational Data
The most common use of Supplemental Data is using relational data. Relational Data uses Audience Data and combines it with Supplemental Data with some form of shared information.
Store Information
City & Glory is a clothing retail store across the United States. All customer data is accessed through the Audience Data. Below is an example of the Audience Data:
Audience Data
| Account_num | customer_num | name | lifetime_value | tier_level | preferred_store |
|---|---|---|---|---|---|
| 1234 | 5555 | John Doe | 1250.38 | 2 | 1 |
| 1111 | 6485 | Jane Doe | 866.49 | 1 | 3 |
| 7894 | 3346 | Brad Pitt | 422.31 | 1 | 4 |
The “preferred_store” column is the related column. This value is used to join information from the Supplemental Data. City & Glory adds Supplemental Data populated with store information. Below is an example of the Supplemental Data:
Supplemental Data
| store_id | address | state | city | zip | store_name |
|---|---|---|---|---|---|
| 1 | 213 Main Street | GA | Atlanta | 30077 | Atlanta Location |
| 2 | 55 Broadway | NY | New York City | 20008 | New York City Location |
| 3 | 33 Old Town Road | FL | Jacksonville | 44698 | Jacksonville Location |
| 4 | 9842 Electric Ave | CA | San Diego | 94465 | California Location |
Notice the correlation between the “preferred_store” of the Audience Data and the “store_id” of the Supplemental Data. In this case, the address of the preferred store needs to be displayed in the email Template.
The Audience and Supplemental Data exist separately and must be joined together to dynamically populate the proper store address for each customer. FreeMarker is used to join the data.
For more information on FreeMarker, read the official FreeMarker documentation.
In this example, the FreeMarker that combines the data is:
<#assign myData = ContextData['Entry[store_id="${Recipient.preferred_store}"]']>
This FreeMarker code creates a variable called myData. The value of myData is an object that stores all the returned information from the Supplemental Data record where the store_id is the same value as the preferred_store from the Audience. To reference a value from the Supplemental Data, the following FreeMarker is used:
${myData.address}
The data is now joined and can be referenced throughout the email/text/sms Template easily.
Coupon Data
The Weekly Sprout is a healthy living grocery store. Each week, a newsletter is sent out with coupon deals personalized to the customer. Customers that have a higher lifetime value receive better coupons. The Audience Data stores personalized data:
Audience Data
| customer_id | name | lifetime_value | coupon_id |
|---|---|---|---|
| 5555 | John Doe | 1250.38 | 1 |
| 6485 | Jane Doe | 866.49 | 3 |
| 3346 | Brad Pitt | 422.31 | 4 |
The Supplemental Data contains the coupon data. The Supplemental Data stores the details of the coupon:
Supplemental Data
| coupon_id | coupon_code | percentage_off | text |
|---|---|---|---|
| 1 | 00030 | 30 | Enjoy 30 percent off for being such a valued customer |
| 3 | 00010 | 10 | Enjoy 10 percent off for this week only |
| 4 | 00005 | 5 | Enjoy 5 percent off on any item for this week only |
Notice the coupon_id column in both the Audience and the Supplemental Data. This is the value that will be used to join the data together. Using FreeMarker, this is how the relational data is combined:
<#assign myData = ContextData['Entry[coupon_id="${Recipient.coupon_id}"]']>
Now, within the Template, the relevant coupon data is rendered to the customer. In this case, the returned information would make up a large portion of the email/text/sms contact.
This example follows the same idea as the store information example. It’s a versatile approach to dynamic content.
HTML Data
Another interesting example of using Supplemental Data is building the entire HTML Template through returned results from Supplemental Data. It is possible to build the full email display through returned results from Supplemental Data.
Supplemental Data has a limit to how much data can be transferred for use within a Template. It is recommended that Supplemental Data transmit under 5 MB of data. If more data must be transferred, consider using Hosted or External Data, which has no limit.
Newfound Apparel is a rising company that offers very personalized newsletters. Based on the Audience data, entire custom-formatted HTML can be generated from the Supplemental Data. Below is an example of the Audience Data:
Audience Data
| customer_num | name | lifetime_value | template_id1 | template_id2 |
|---|---|---|---|---|
| 5555 | John Doe | 1250.38 | 1 | 4 |
| 6485 | Jane Doe | 866.49 | 3 | 8 |
| 3346 | Brad Pitt | 422.31 | 2 | 3 |
The Supplemental Data for the following example only has two columns:
Supplemental Data
| template_id | HTML |
|---|---|
| 1 | div id=”template\_id1”It’s been a long time since you’ve been to a store! Maybe this coupon will help! /div |
| 2 | div id=”template\_id2It’s time, ${Recipient.name}! A big sale is headed your way! #if Recipient.lifetime\_value?number gte 1000 You’re a top spending customer. Don’t let anything get in the way of your deals this week.#else There are sales that you need! The sales only last this week, so get to it!/#if``/div |
| 3 | pHope you’re having a good day! Know what would make that day better? bSAVINGS/b! Click a href=”www.newfoundapparel.com>here\/a` for the best deals of the day. |
Note that FreeMarker within the Supplemental Data still renders successfully within the Email Template. This includes functions, variables, and conditions.
There is still an element of relational data within this example. Instead of using the relational data to select a coupon or store information, the actual HTML of the email is stored in the Supplemental Data.
Using the data in this example takes more than just one line of code. Because there are two items that are needed (Recipient.template_id1 and Recipient.template_id2) from the supplemental data, multiple FreeMarker statements are needed:
<#assign
html1 = ContextData['Entry[template_id="${Recipient.template_id1}"]']
html2 = ContextData['Entry[template_id="${Recipient.template_id2}"]']
>
Placing the HTML blocks into the Email Template uses the following variable:
${html1.code}
${html2.code}
This example can be expanded on even further with dozens of different templates. CSS styling can even be used within divs and elements to create a cohesive appearance to the HTML. This is a more advanced configuration as Web Design knowledge is needed to build the HTML code within the table. Testing is required to confirm everything is rendered correctly.
Audiences and Customer Data
Create an Audience that accesses customer data. Navigate to People > Audiences to create or edit an Audience.
For more information on creating new audiences, see End-to-End Newsletter Creation.
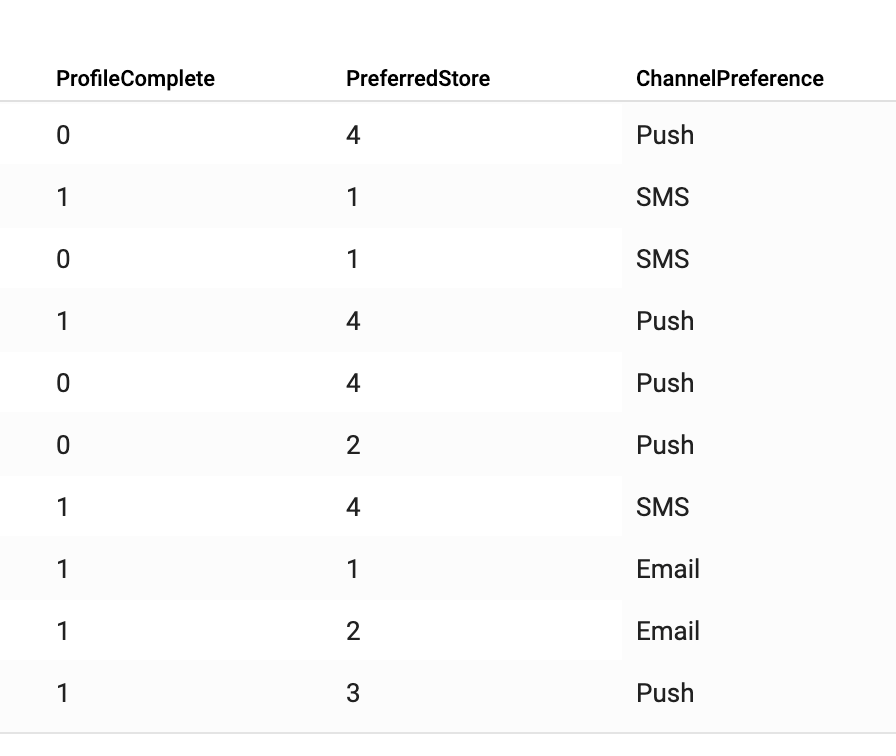
It is important that the Audience includes some field of data that can be used to find information within the Supplemental Data. In this case, the Audience contains a field called Preferred_Store. This is a number value that will correlate to the Store_ID within the Supplemental Data. When setting up Supplemental Data with Audience Data, a related column is necessary.
Supplemental Data doesnot have to include related information, but it often does. Supplemental Data could be independent data. If that is the case, a related column is not needed.
Preview the Audience to ensure the data is being processed correctly.
Creating Supplemental Data
Creating Supplemental Data works similarly to creating an Audience. Navigate to Content > Data Management > Supplemental Data. This screen shows existing Supplemental Data.
Click Create Supplemental data to add a new Supplemental Data entry. Supplemental Data is created through a SQL query or an API query. This example will use the SQL query.
Name the Supplemental Data, provide a description, and populate the query.
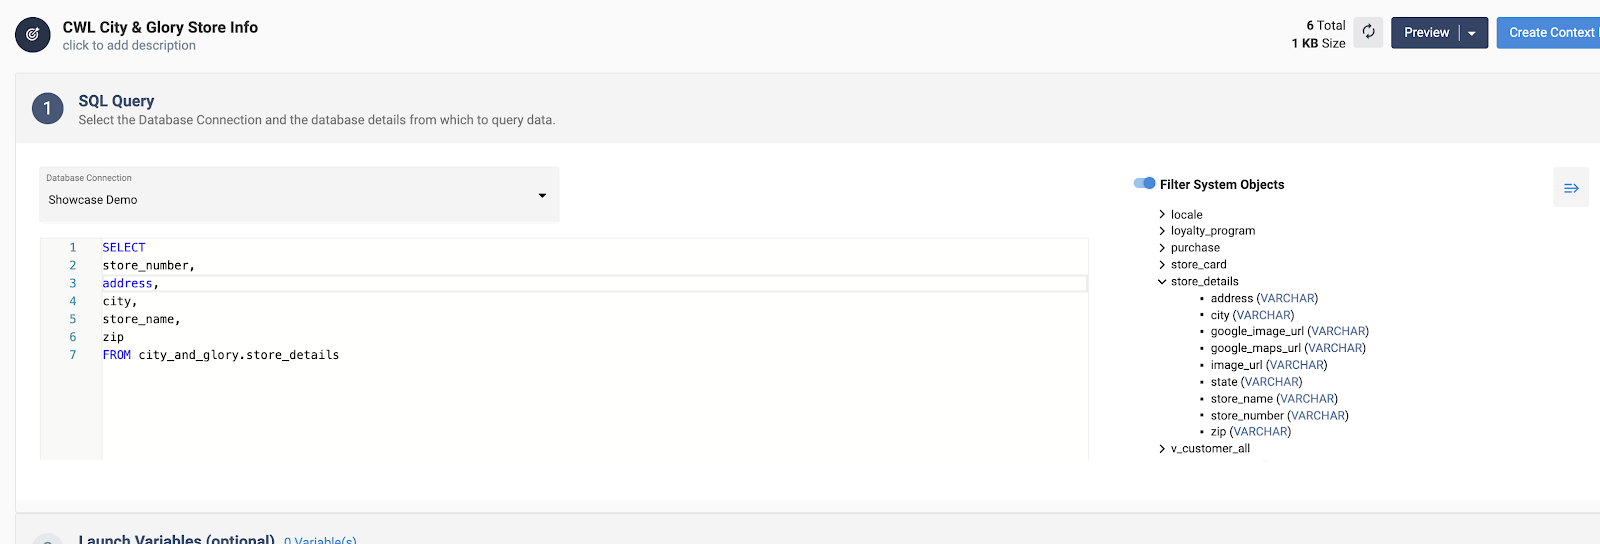
Use the navigator on the right side of the interface to view tables and columns for reference.
Similar to an Audience, Supplemental Data contains Launch Variables. Launch Variables can be overwritten through a Campaign for my dynamic results. This example will not use Launch Variables.
If using Launch Variables in Supplemental Data, reference the variables as ${Criteria.variable_name}
Use the Preview button to ensure the Supplemental Data query executes successfully.
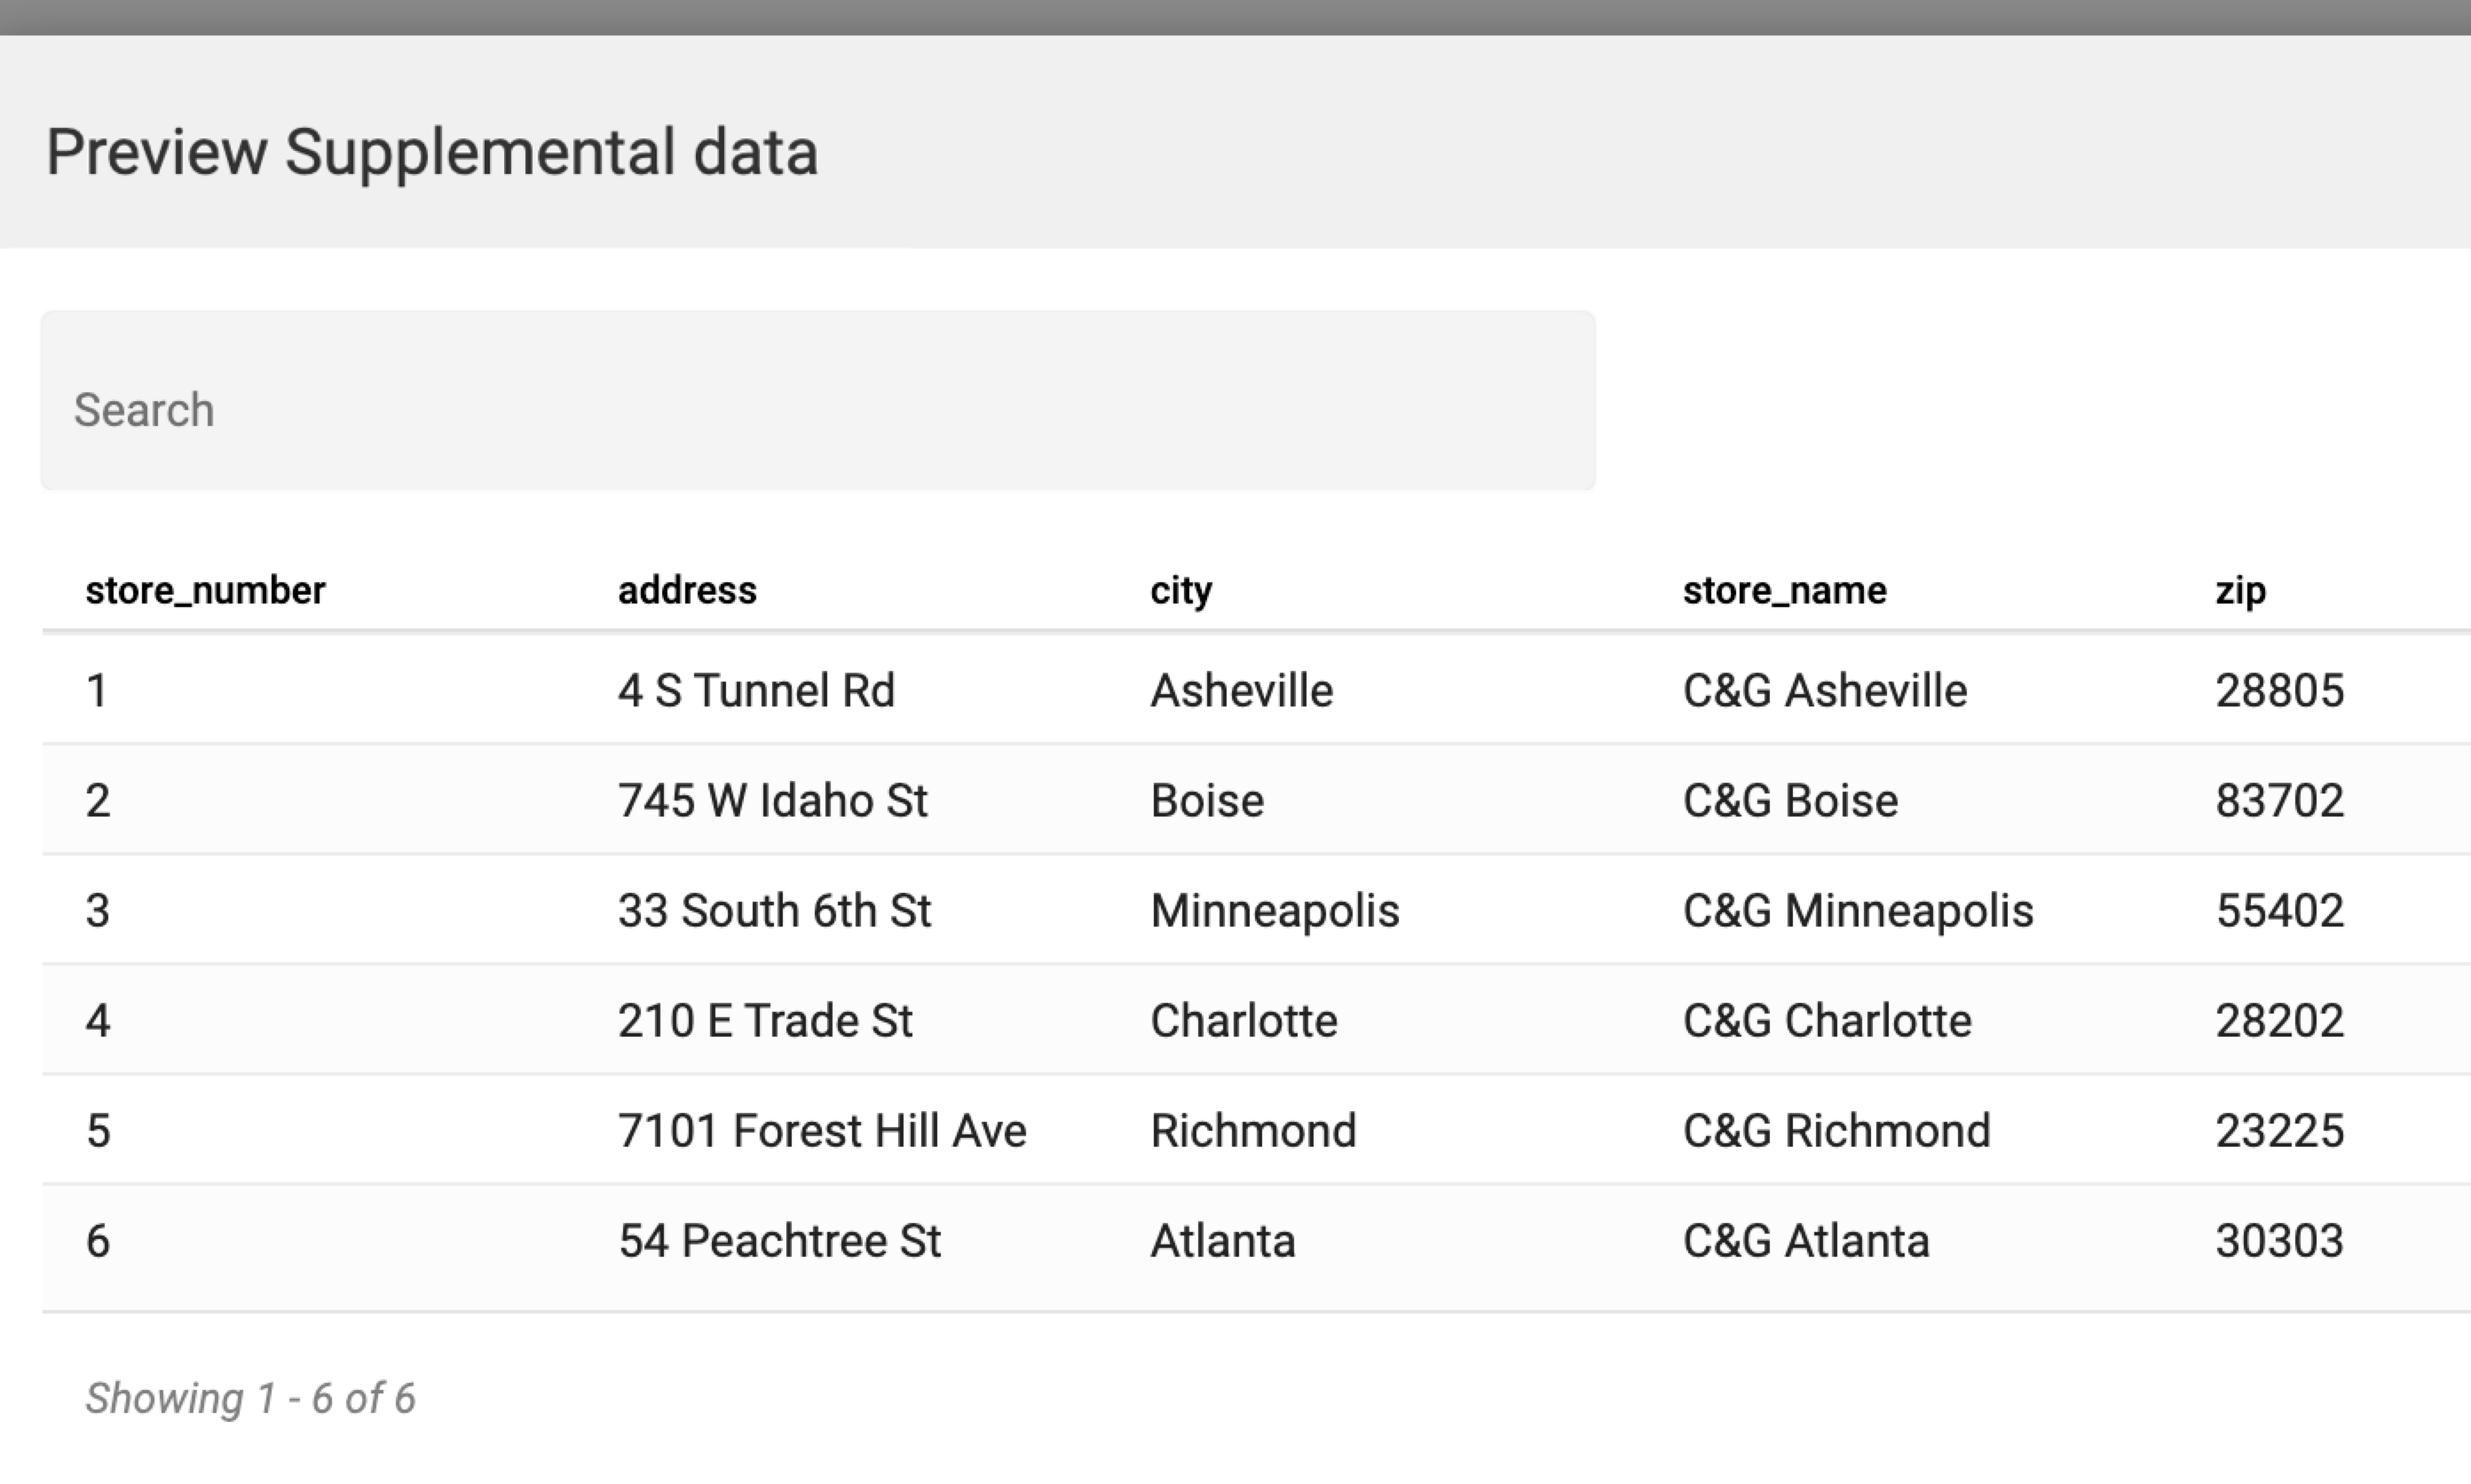
In the case of this example, the Store_Number column in the Supplemental Data is critical. The Preferred_Store column from the Audience will reference the Store_Number column of the Supplemental Data. This related column will make sure the appropriate store information is rendered within the email.
After previewing the query, save the Supplemental Data.
Using Supplemental Data in a Template
Joining the Audience data and Supplemental Data occurs within the Template. Using FreeMarker, the Audience and the Supplemental data is joined together.
For more information on FreeMarker, read the Official FreeMarker documentation.
In this example, the two tables can be joined together with the Audience.PreferredStore and ContextData.store_number fields. By joining these tables together with a related column, all additional preferred store information is accessible through FreeMarker.
Supplemental Data is not required to be joined with Audience data, but it is a common configuration. If using Supplemental Data that doesn’t need to be joined with Audience Data, this step can be skipped.
This can be done whether creating a Template through the Drag-and-Drop Editor or HTML Source Editor.
Add Audience and Supplemental Data to Template
Create a new Template. From the Template Overview screen, select Setup Personalization.
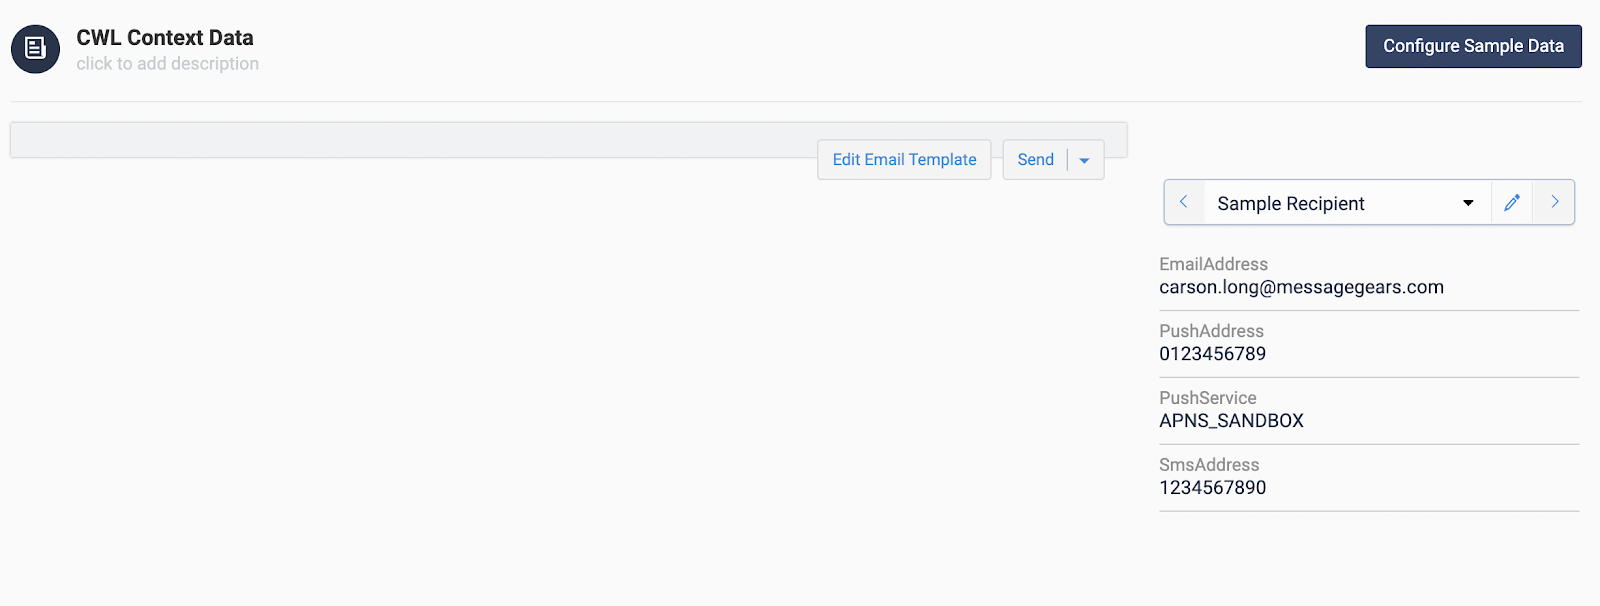
From the Sample Data screen, click Configure Sample Data. This opens an interface to select an Audience and Supplemental Data to use within the Template.
Select the appropriate Audience and Supplemental Data. Close the configuration and navigate back to the Template Overview screen. If done correctly, the Audience and Supplemental Data should display within the Personalization field.
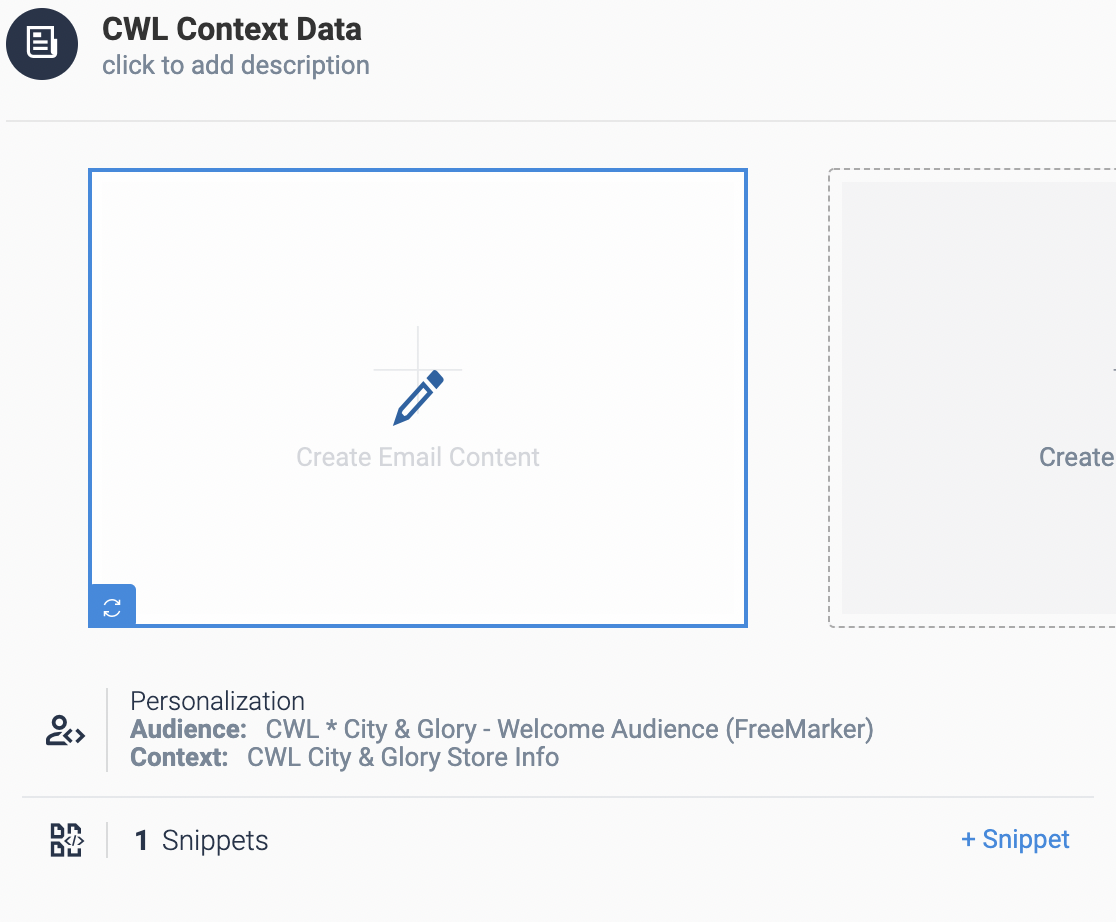
After adding an Audience and Supplemental Data, it can be referenced within the Template.
Using the Drag-and-Drop Editor
It is a best practice to use Snippets for variable assignment. Combining Supplemental Data should also be done within Snippets for easier data organization.
For more information on Snippets and Dynamic Content, read Using Dynamic Content.
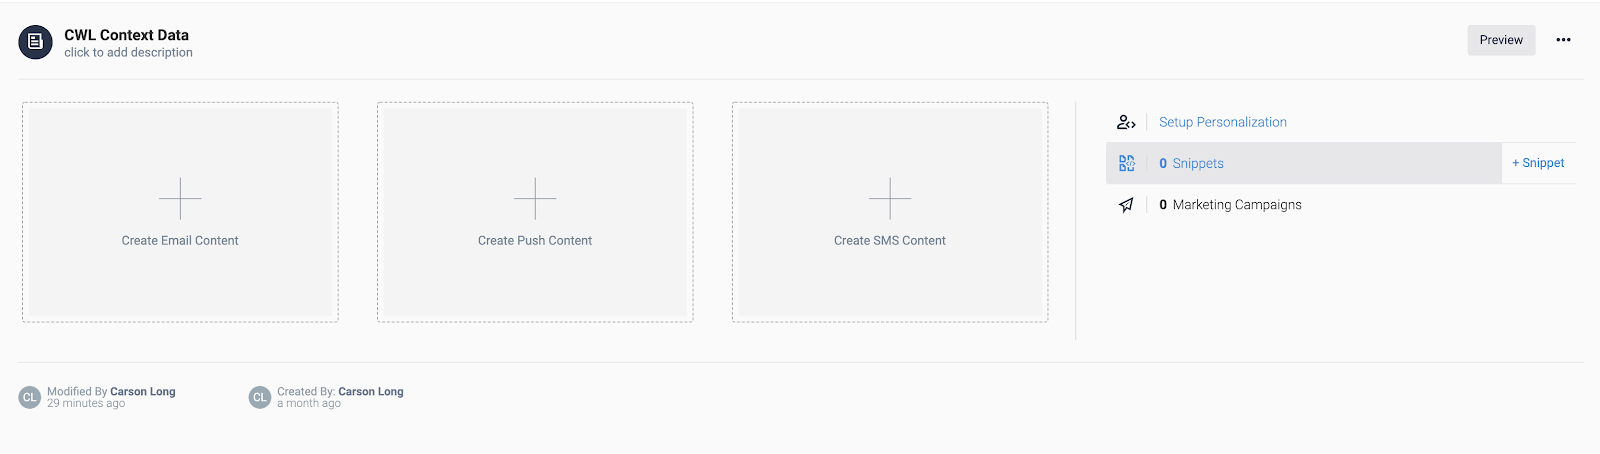
From the Template Overview screen, add a Snippet by clicking the Snippets button on the right side of the screen.
Create a new Snippet called Variable Assignment.
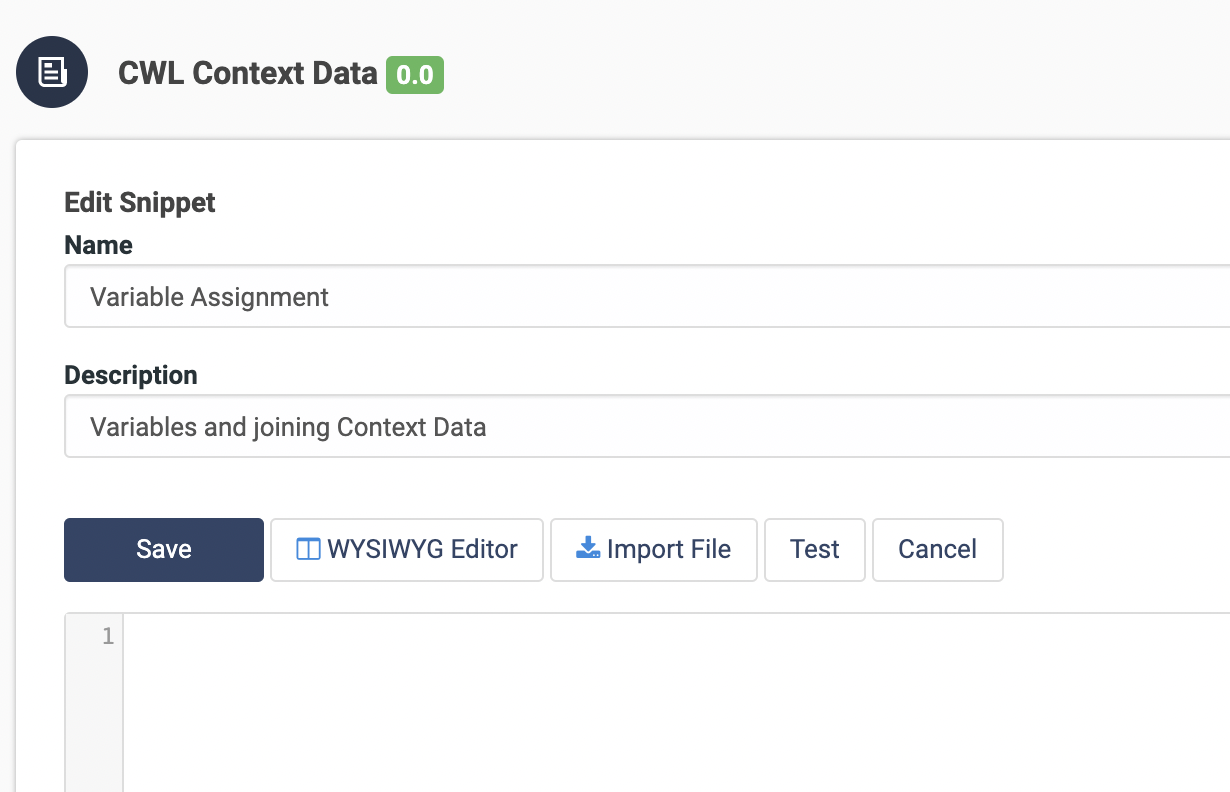
Using FreeMarker, Supplemental Data and Audience data can be joined together in one line of code:
<#assign myData = ContextData['Entry[store_number="${Recipient.PreferredStore}"]']>
The structure for this code is described as:
<#assign variable_name = ContextData['Entry[context_data_field_name = "${Recipient.Related_Column}"]']>
Using this line of code in a Snippet allows a user to receive the benefits of combining Supplemental Data and Audience data while still using the Drag-and-Drop Template Builder.
Test and Save the Snippet. If the Snippet does not test successfully, review the Snippet code for errors. Once tested and saved successfully, open the Template Builder.
For more information on using the Template Drag-and-Drop Editor, read Using the Drag-and-Drop Editor for Building Email Templates.
Select and drag the Dynamic Content onto the Template.
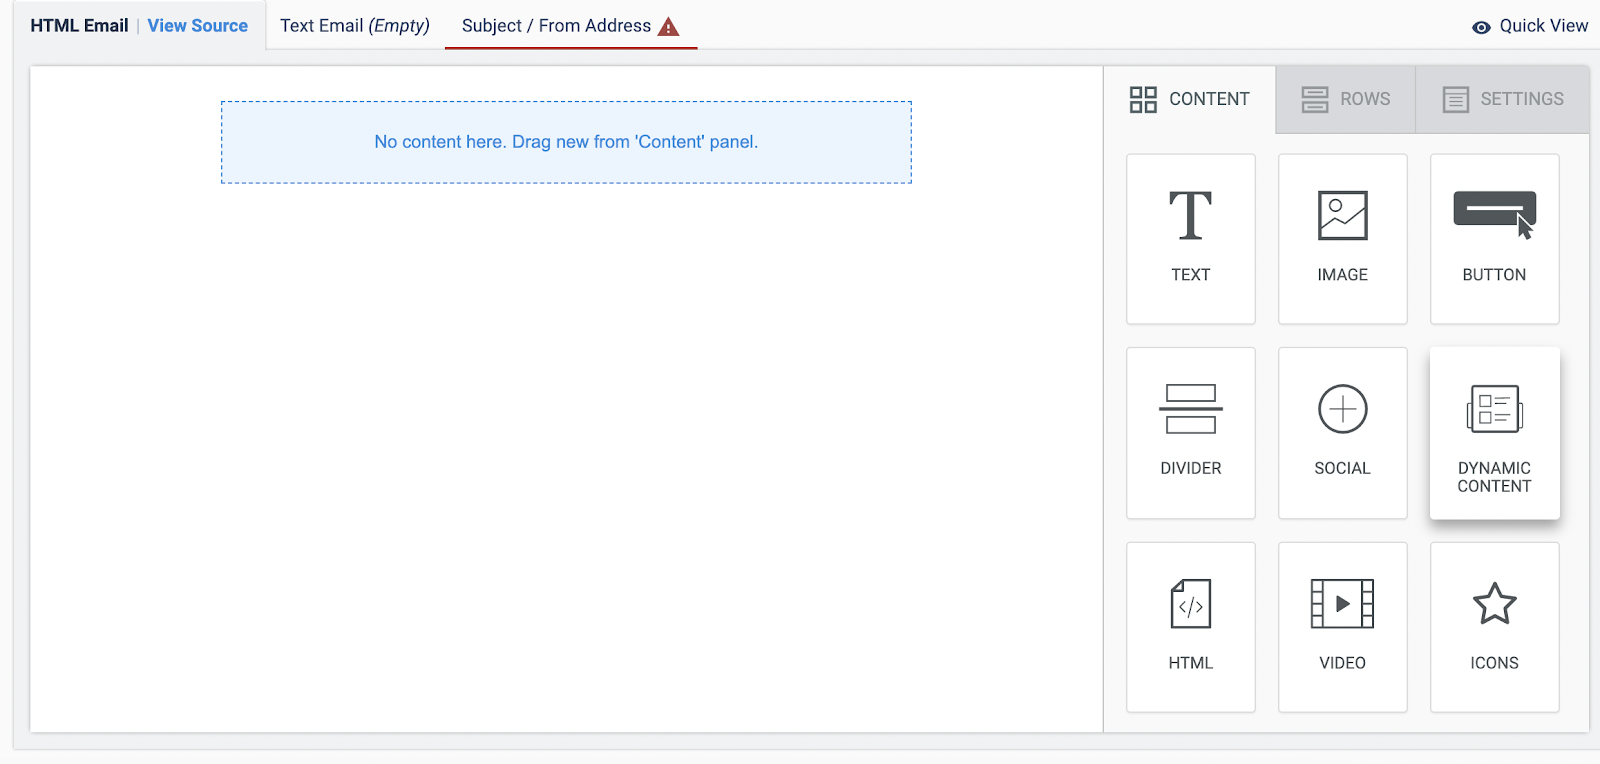
If the Variable Assignment Snippet is the only Snippet created, then that Snippet is selected by default. If not, use the Content Properties to select the Variable Assignment Snippet.
Snippets are identified by the “local” tag within the content name.
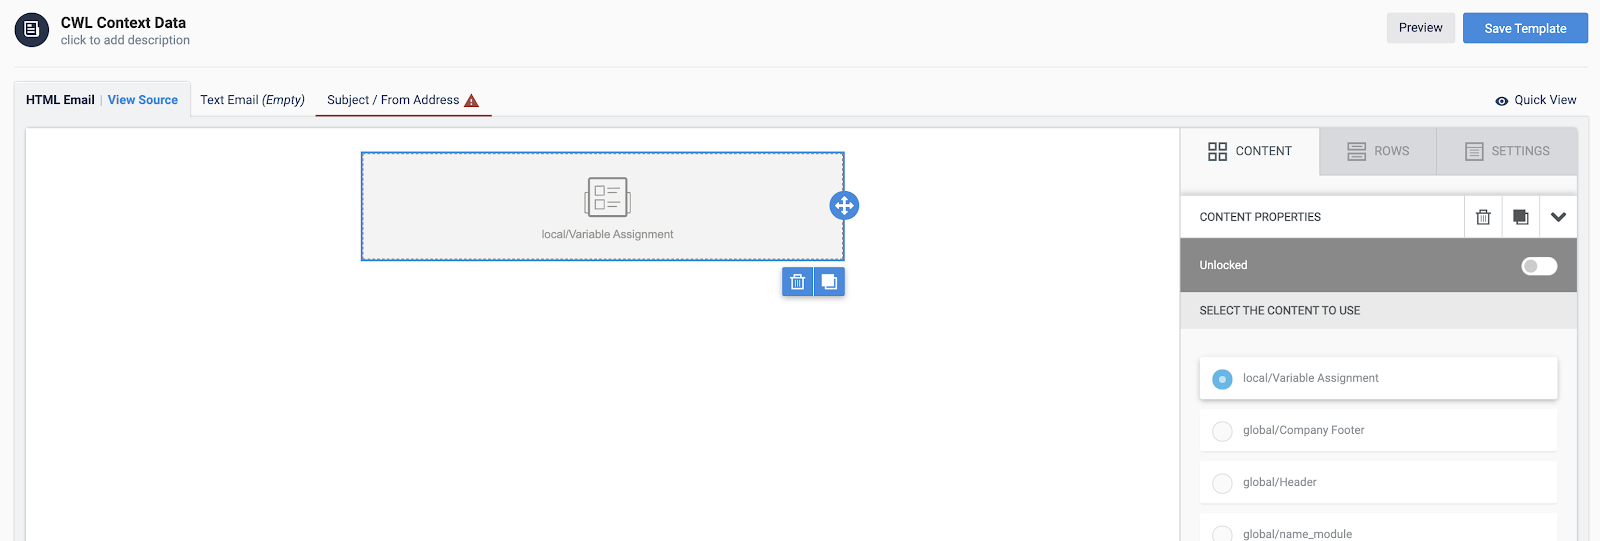
After applying the Snippet, Supplemental Data is ready to be referenced. For this example, the address of the preferred store of the customer is included in the header of the email.
To reference to Supplemental Data information, a specific format has to be used. When joining the Supplemental Data and Audience Data, the following statement was used:
<#assign myData = ContextData['Entry[store_number="${Recipient.PreferredStore}"]']>
This statement selects the correct store information from the table referenced in the Supplemental Data configuration. To access specific fields of data from that table. The Store_information table that the Supplemental Data is accessing has a column called “address”. To render that information on the screen, the following format is used:
${myData.address}
When assigning the Supplemental Data, if another name was used besides myData, then the variable used for the Template would also change.
When referencing Audience data, the Merge Tags feature provides a quick way to input personalized data. This feature does not include columns from Supplemental Data. Any variables referenced from Supplemental Data must be typed out manually.
Create a header for the Template.
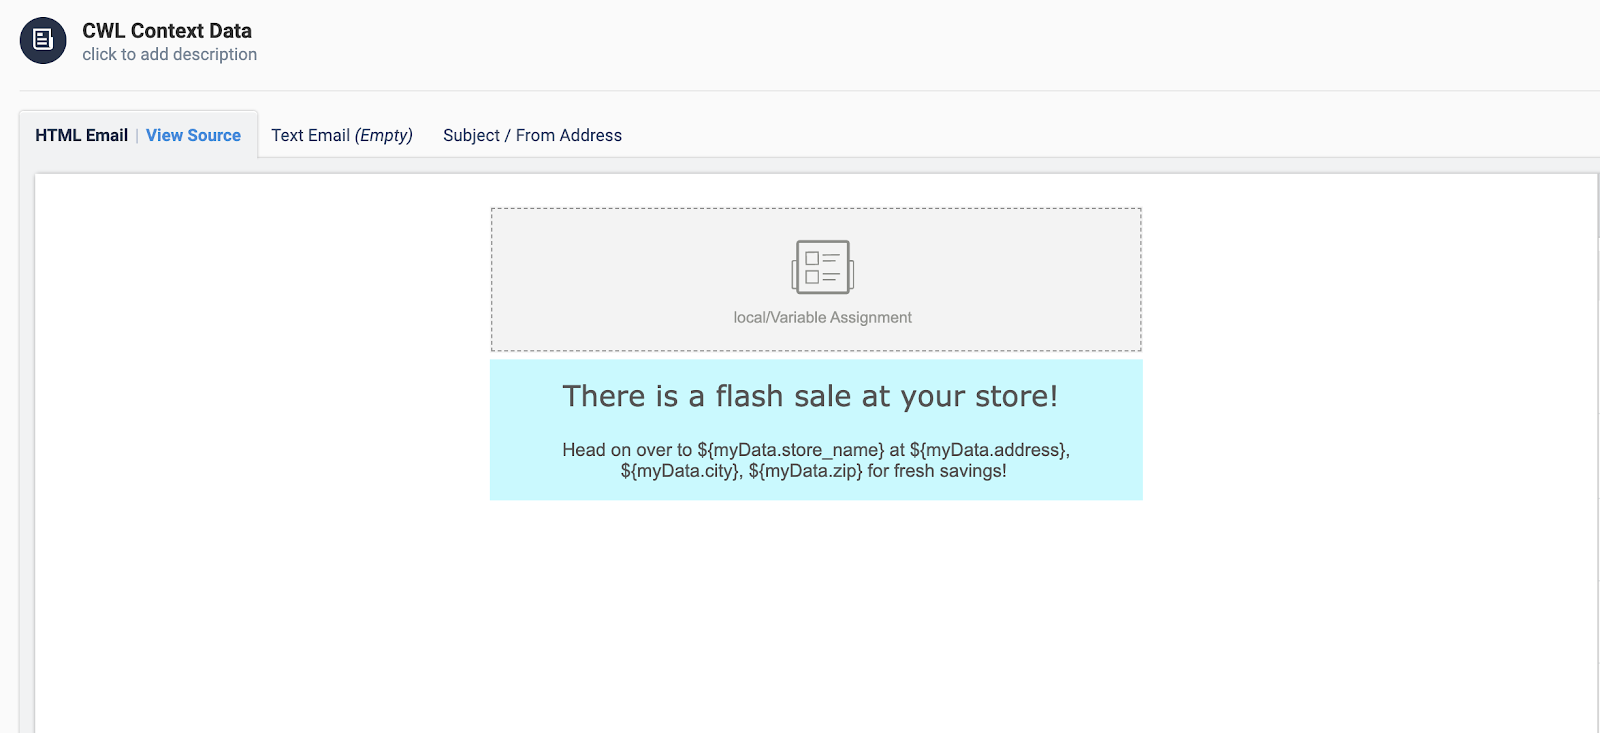
The code used in this example is:
Head on over to ${myData.store_name} at ${myData.address}, ${myData.city}, ${myData.zip} for fresh savings!
Save the Template and Preview the results. Cycle through multiple sample records to confirm that the proper store information displays within the header.
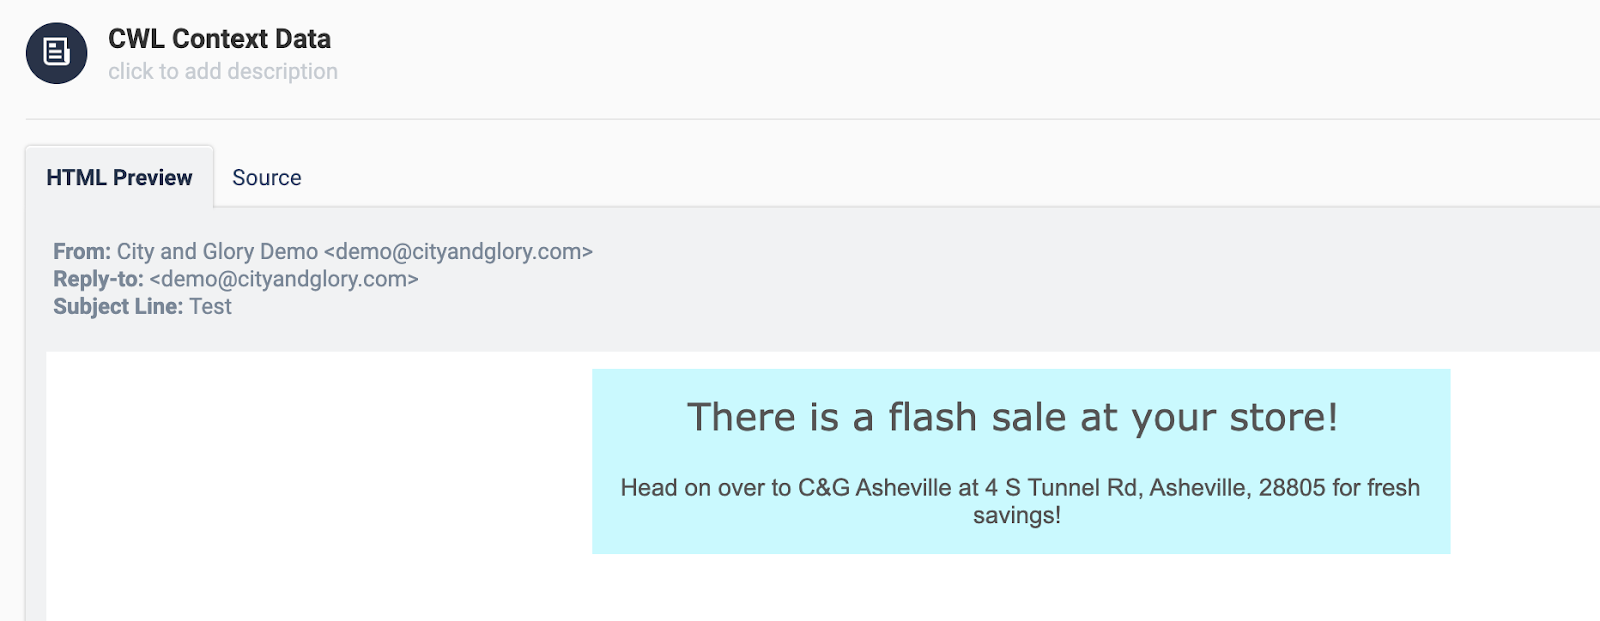
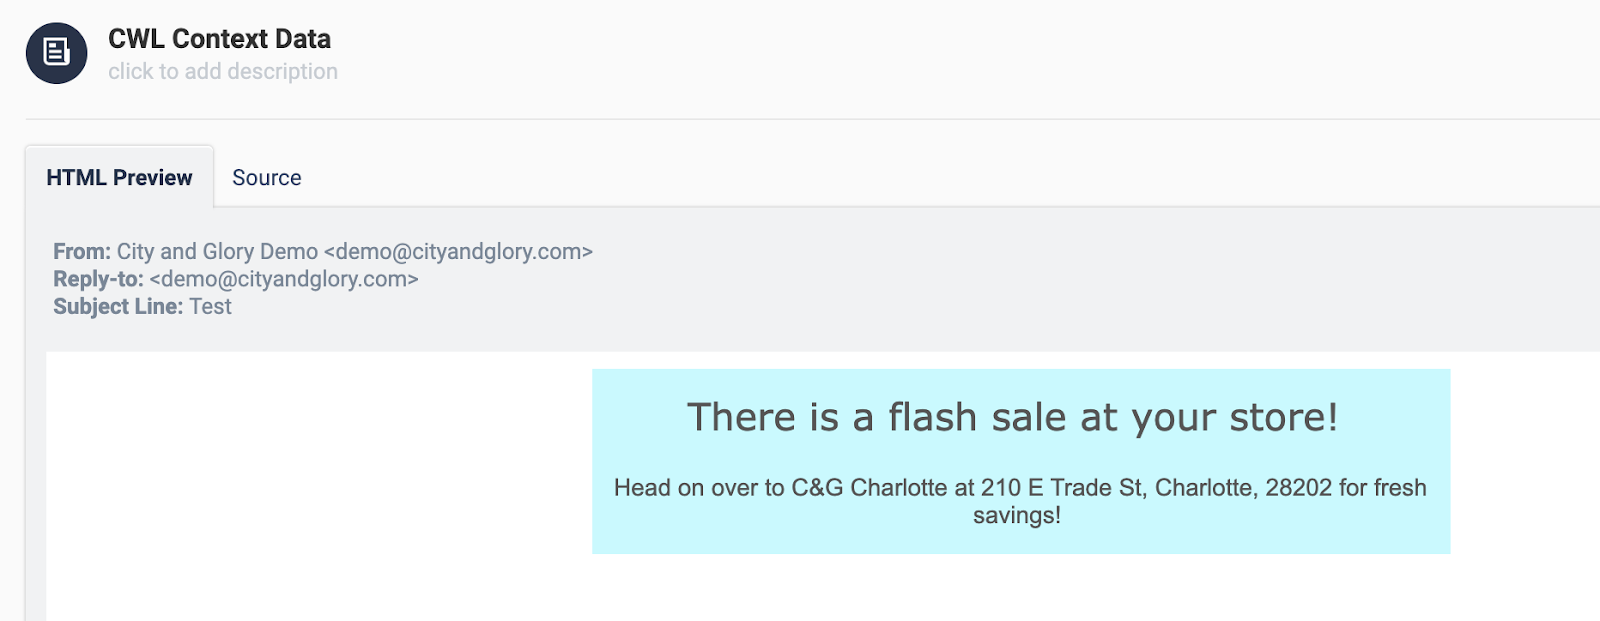
The Supplemental Data renders successfully. Continue building the Template to expand on the Supplemental Data.
Alternative Approach with Snippets
Extra configuration within the Snippet can make the process of referencing Supplemental Data easier for front-end users that create Templates.
Within the Variable Assignment Snippet, add additional assign expressions to simplify referencing data within the Template.

The full Snippet code is:
<#assign myData = ContextData['Entry[store_number="${Recipient.PreferredStore}"]']>
<#assign
 store_name = myData.store_name
 store_address = myData.address
 store_zip = myData.zip
 store_city = myData.city
>
This added assign expression stores the same Supplemental Data within the Template header in the above examples, but gives the information an easier name to reference.
If using this method, the same header in the Template above is accomplished with this personalization data:
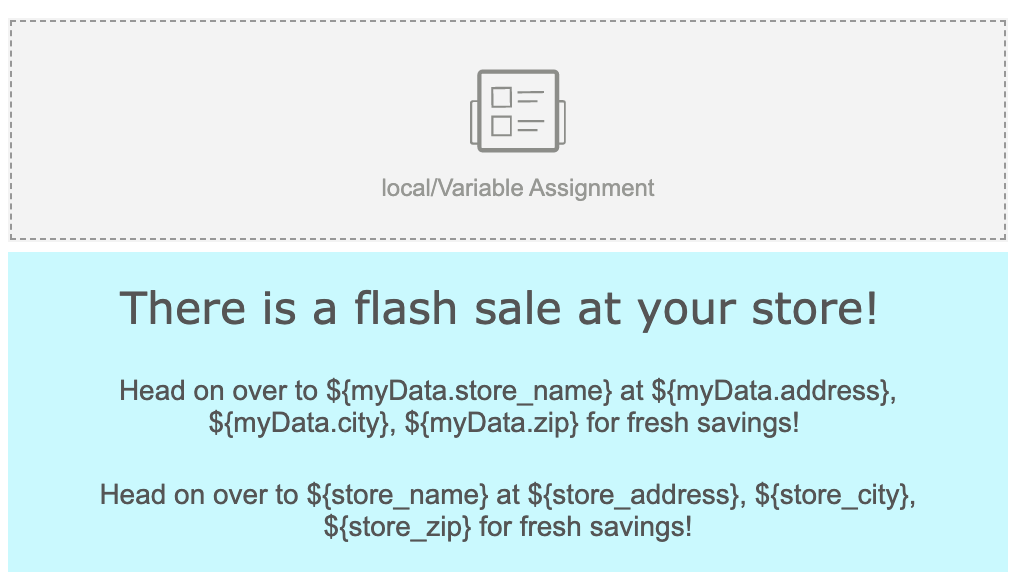
The text used in this example is:
Head on over to ${store_name} at ${store_address}, ${store_city}, ${store_zip} for fresh savings!
Both of these statements render the same way.
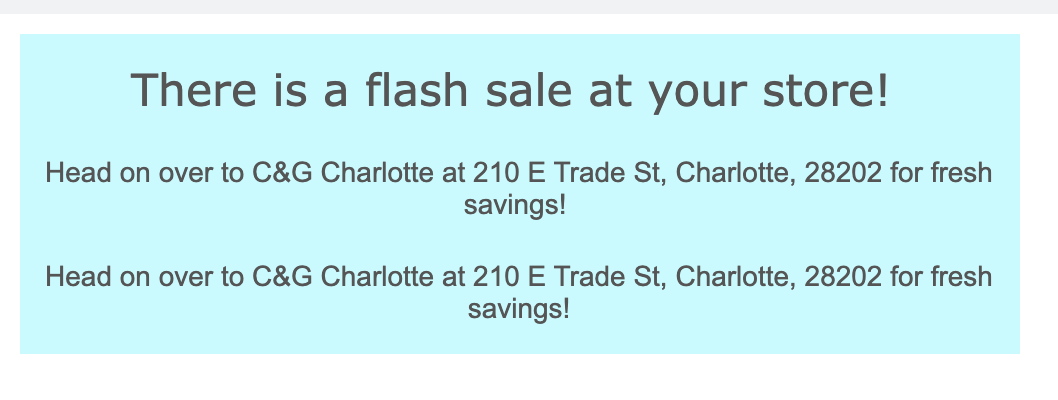
This method is best used when the user creating Templates is not familiar with the Supplemental Data fields. Work can be done within the Snippet so that this knowledge is not necessary within the Template.
Using the HTML Source Editor
If using the HTML Source Editor, the process of instantiating the Supplemental Data (like done above in Snippets) can be done all within a few lines of code.
While all the FreeMarker listed in this section could be typed directly into the Template, Snippets are still encouraged for Variable Assignment for data organization and reusability purposes. For more information on referencing Dynamic Content within an HTML Template, read Using Dynamic Content.
In the body of the HTML Template, include the following code:
<#assign myData = ContextData['Entry[store_number="${Recipient.PreferredStore}"]']>
This FreeMarker expression sets the object myData to the returned row from the Supplemental Data table where store_number is equal to the preferred store from the Audience Data. The returned value of this variable is an object. To reference specific columns from the table, use the following code:
${myData.store_number}
The format of this code can be changed for any Supplemental Data entry:
<#assign variable_name = ContextData['Entry[context_data_field_name = "${Recipient.Related_Column}"]']>