Push to Inbox content
Send a message directly to a mobile app's inbox. Standard push notifications are grouped in the device's notification center, making it difficult for users to find specific notifications if they do not engage immediately. By sending a message and displaying it in your app's inbox, the user is much more likely to view and engage with the message.
Inbox content is new in Accelerator version 26.3.1.
What Push to Inbox is
Push to Inbox is a delivery channel and content type in Accelerator that lets you surface messages into an inbox or message center inside your mobile app with the MessageGears SDK installed. Unlike a push notification, which arrives through the device's notification system and can be dismissed or missed entirely, Inbox content persists inside the app for the recipient to find and review later.
Inbox suits several kinds of messaging. Transactional updates, such as order confirmations and payment alerts, can go straight to the inbox where a recipient can review them after the moment of delivery has passed. Batch marketing offers gain more durable visibility in a persistent surface than in a push notification the recipient might swipe away. Inbox gives you a way to reach recipients who missed or dismissed a push notification, or who never opted-in to push notifications at all.
Inbox has no opt-in concept at all, because delivery happens inside the app rather than through Apple's or Google's notification services, so it isn't subject to device notification permissions. Anyone identified by a MobileUserId can receive an Inbox message, including contacts who have explicitly opted out of push. As a result, the Inbox recipient count is derived from MobileUserId and mirrors the push recipient count for the same audience.
Before you begin
- The mobile app must already have an inbox or message center built into it wth the SDK installed. Push to Inbox does not add an inbox or message center to your app.
- The template's selected app must be a Swrve app. Inbox options only appear on templates for apps with the SDK installed.
Add Inbox content to a template
-
Inbox templates can be added to existing push templates, or added from scratch
- From an existing push template:
- On a template whose push app is a Swrve app, select the Push template, then Inbox tab.
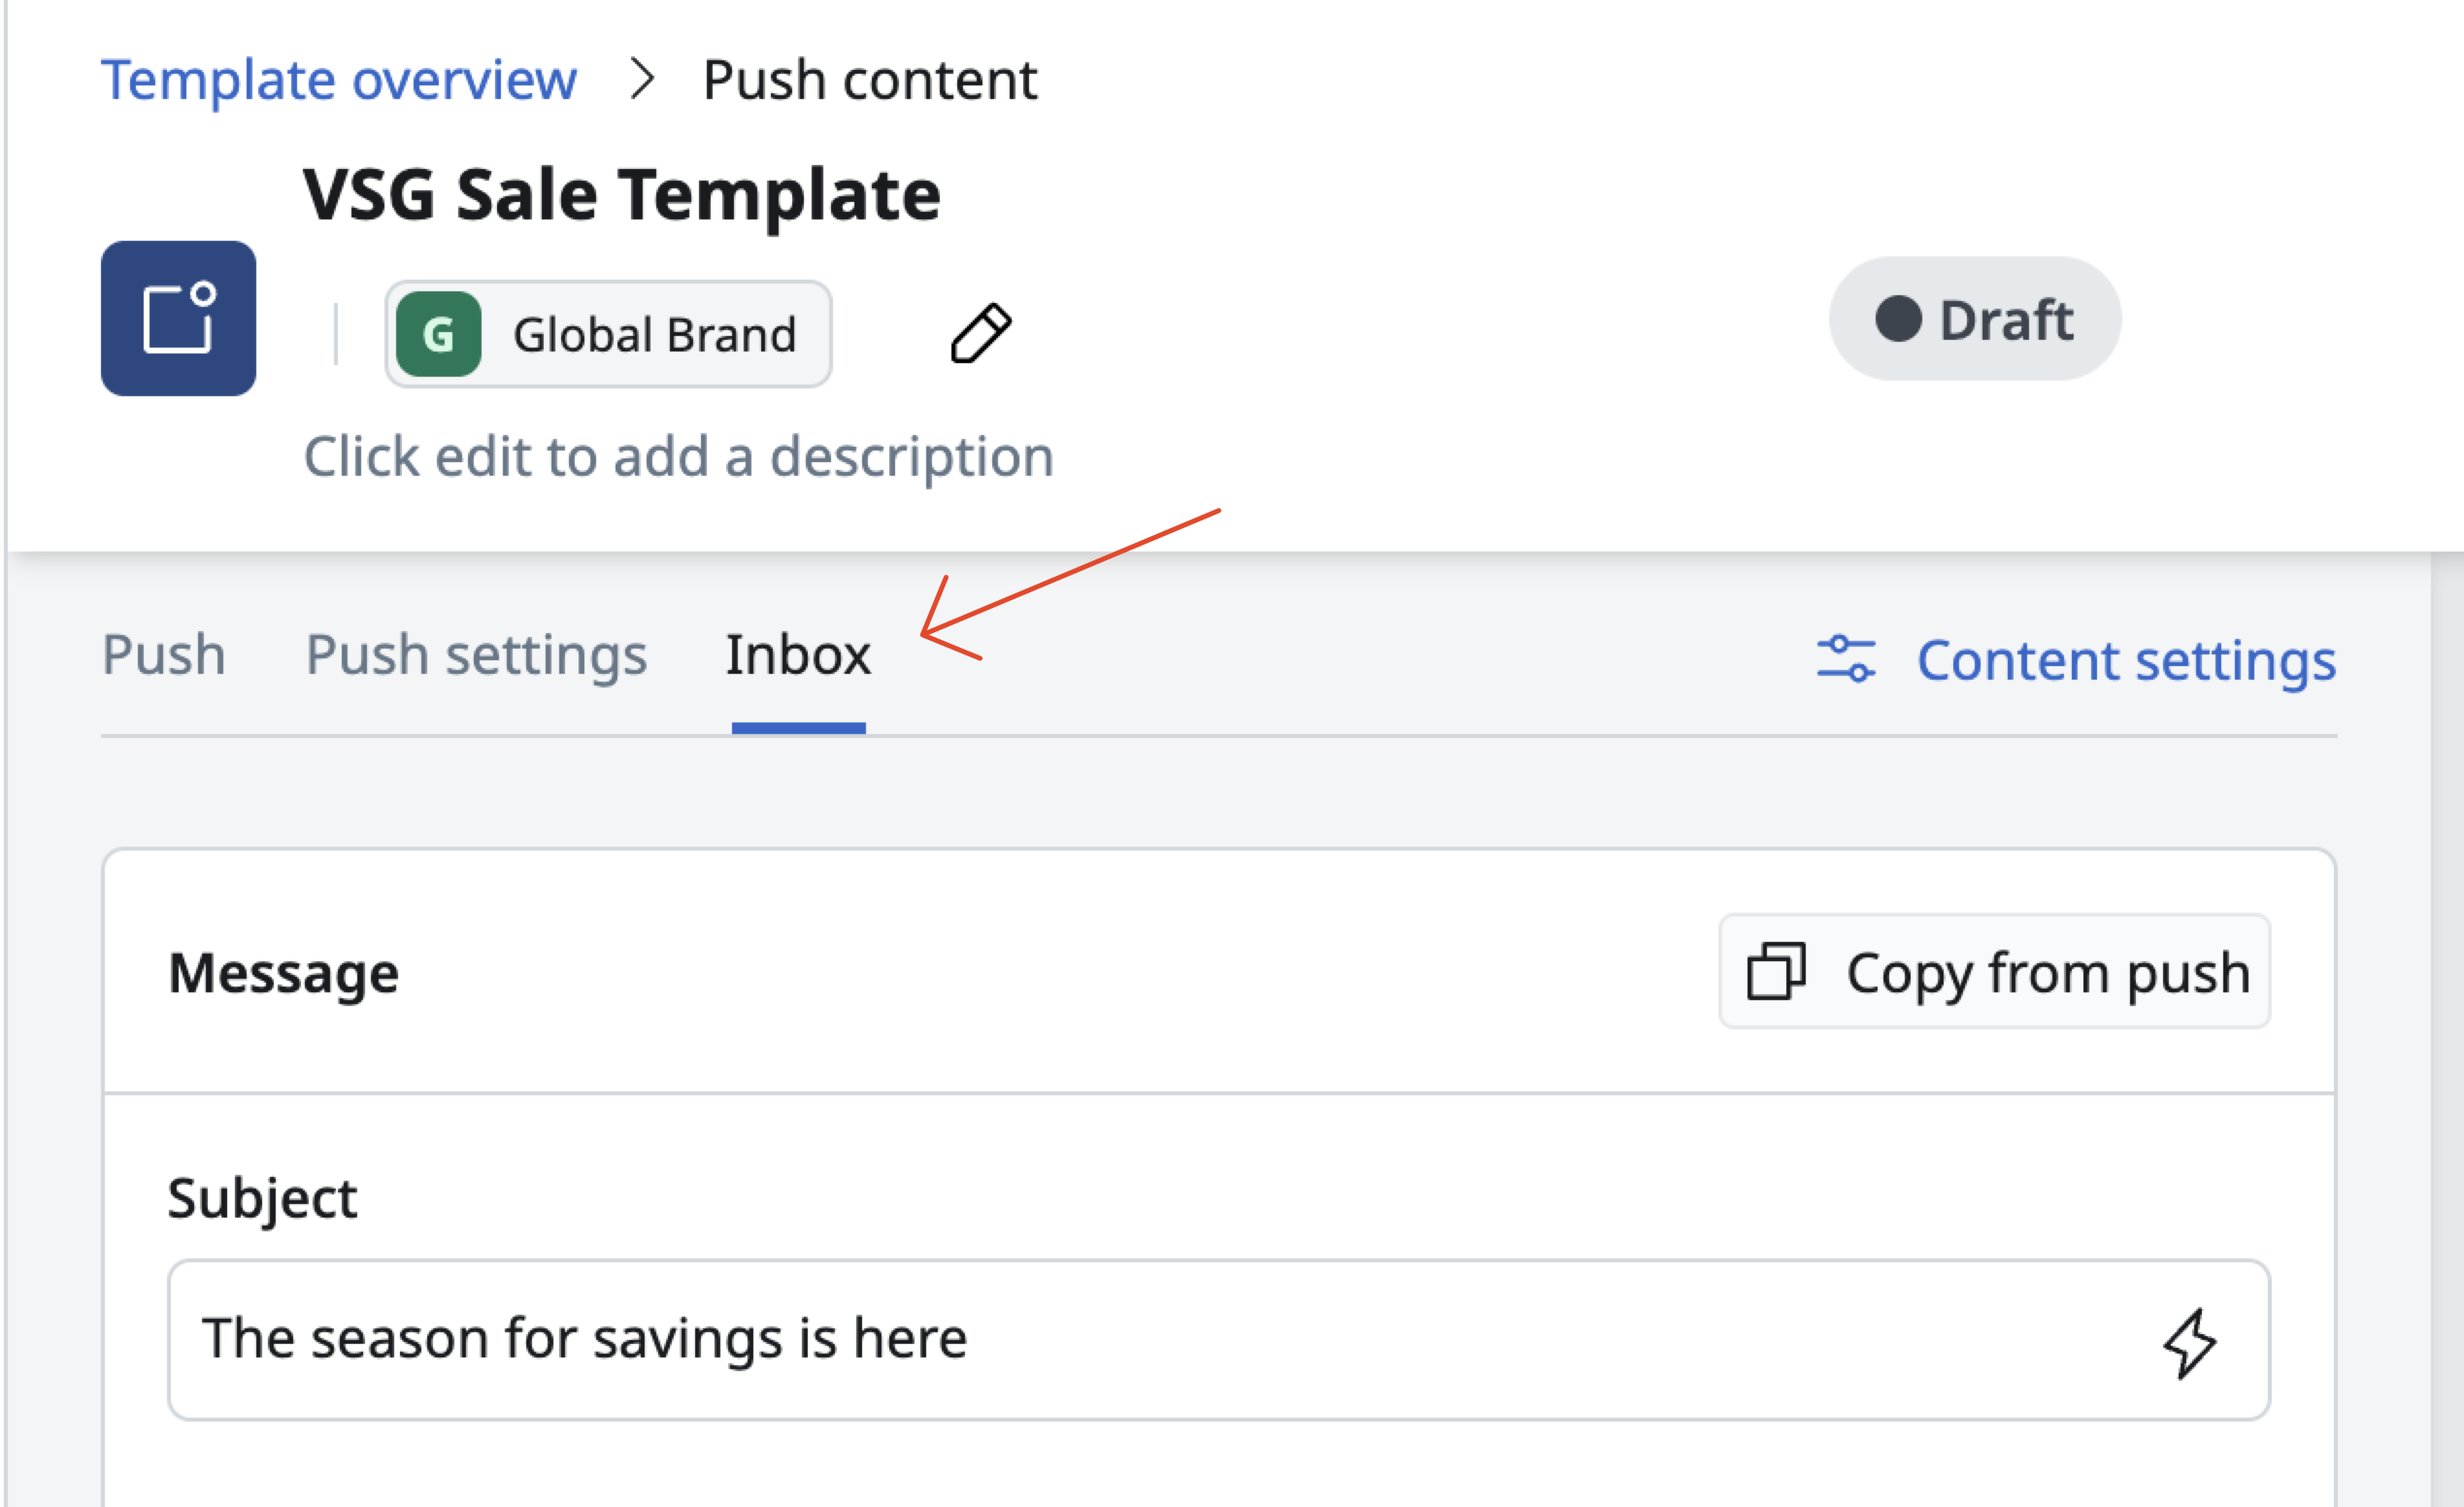
The Inbox tab in the template content-type tabs -
Create a new inbox template:
- Select the push template on the template overview
- Choose Inbox or Push and Inbox
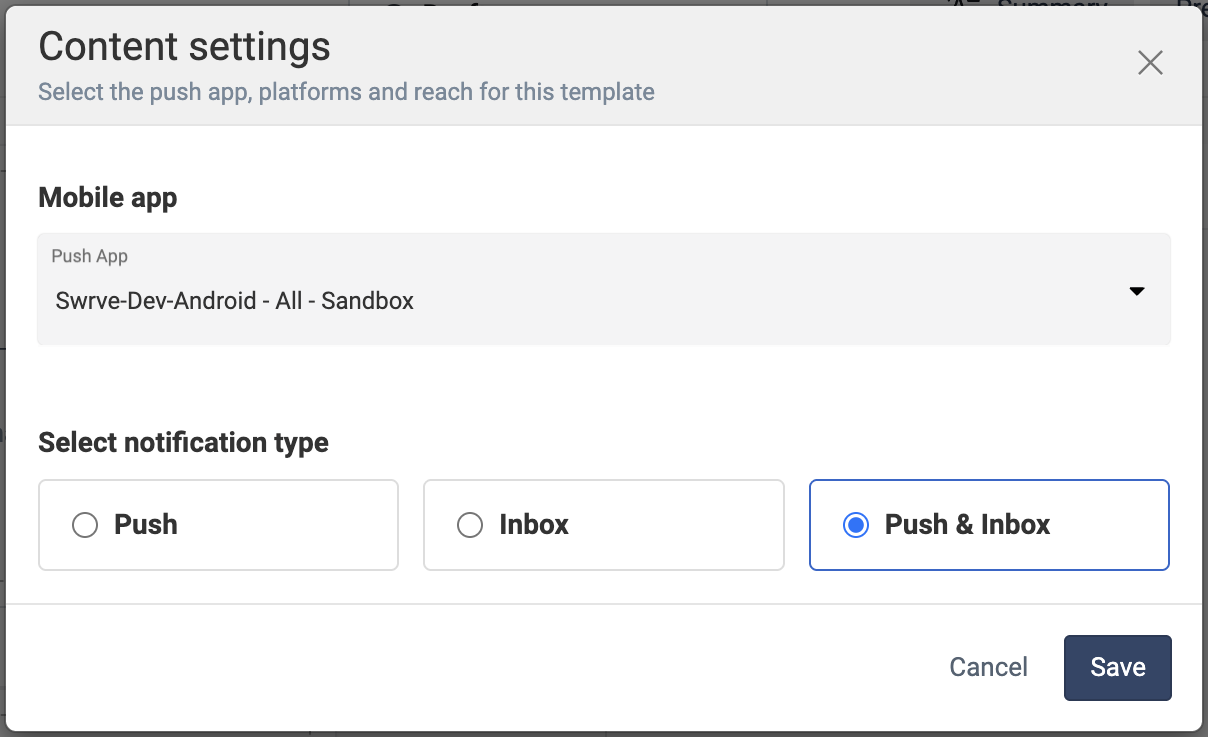
Channel selector for Inbox or Push and Inbox templates
- From an existing push template:
-
Populate the details for required and optional fields
- Subject
- Message body
- Thumbnail image URL
-
Select an Action type
- Deeplink
- Open web page
-
Enter the Action value
-
Set an Expiry time. After this date, the message is no longer considered current.
-
Enter optional Advanced options
-
Custom properties are key/value pairs returned through the event feed for deeper tracking
-
To nest properties, add a group and enter one or more key/value pairs in it. Accelerator sends each group as a nested JSON object in
customProps, not as an escaped string. Grouped values can be personalized with FreeMarker. Groups are available in Accelerator version 26.3.3.For example, a group named
inboxRoutingwith the key/value pairdisplayCategory:ALERTSis sent as:"customProps": {
"inboxRouting": {
"displayCategory": "ALERTS"
}
}
-
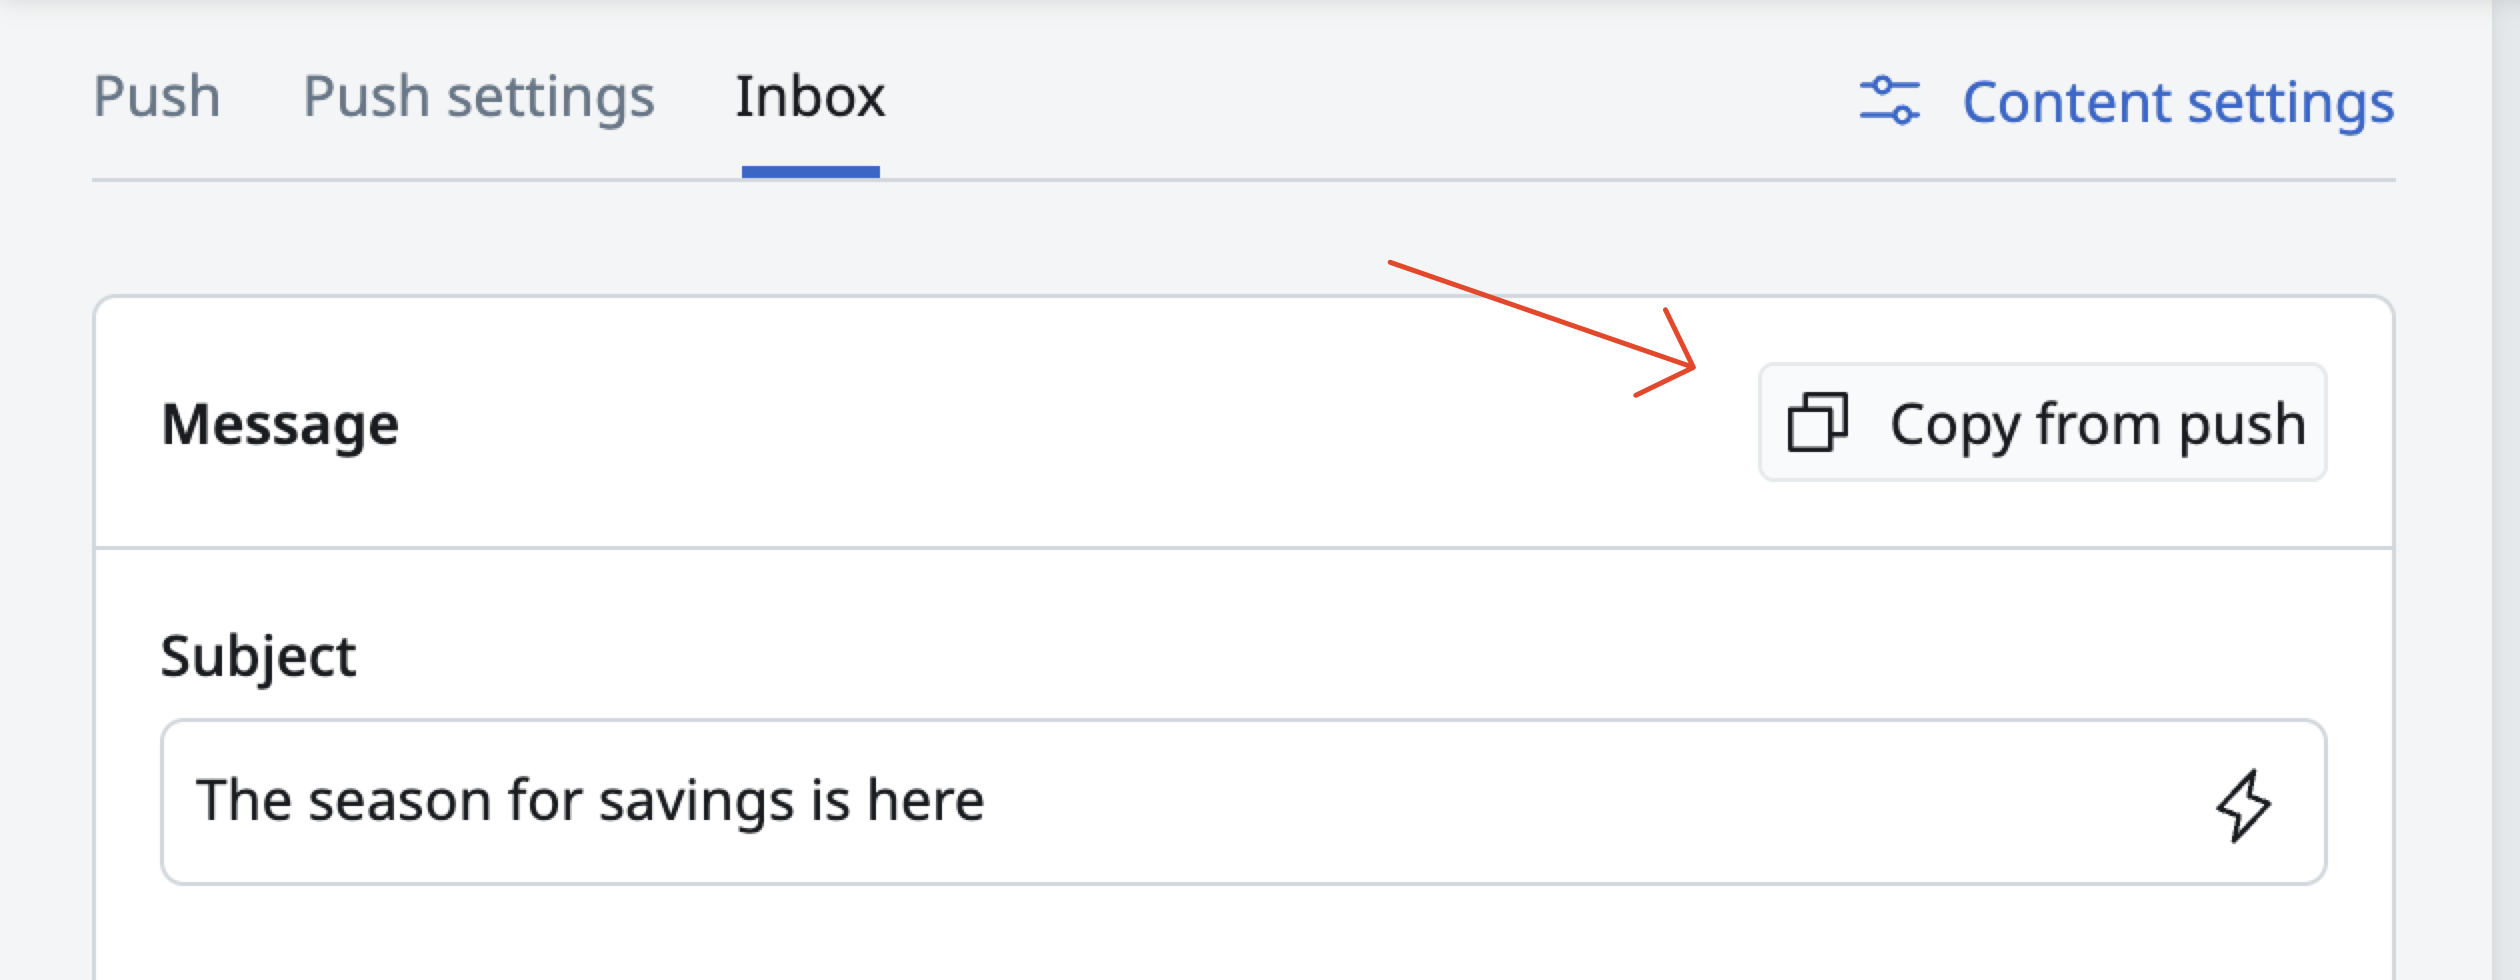
If push content already exists on the template, select Copy from Push to carry the existing push field values, including advanced key/value pairs, into the Inbox tab. This option is only available after the Push tab has been edited.
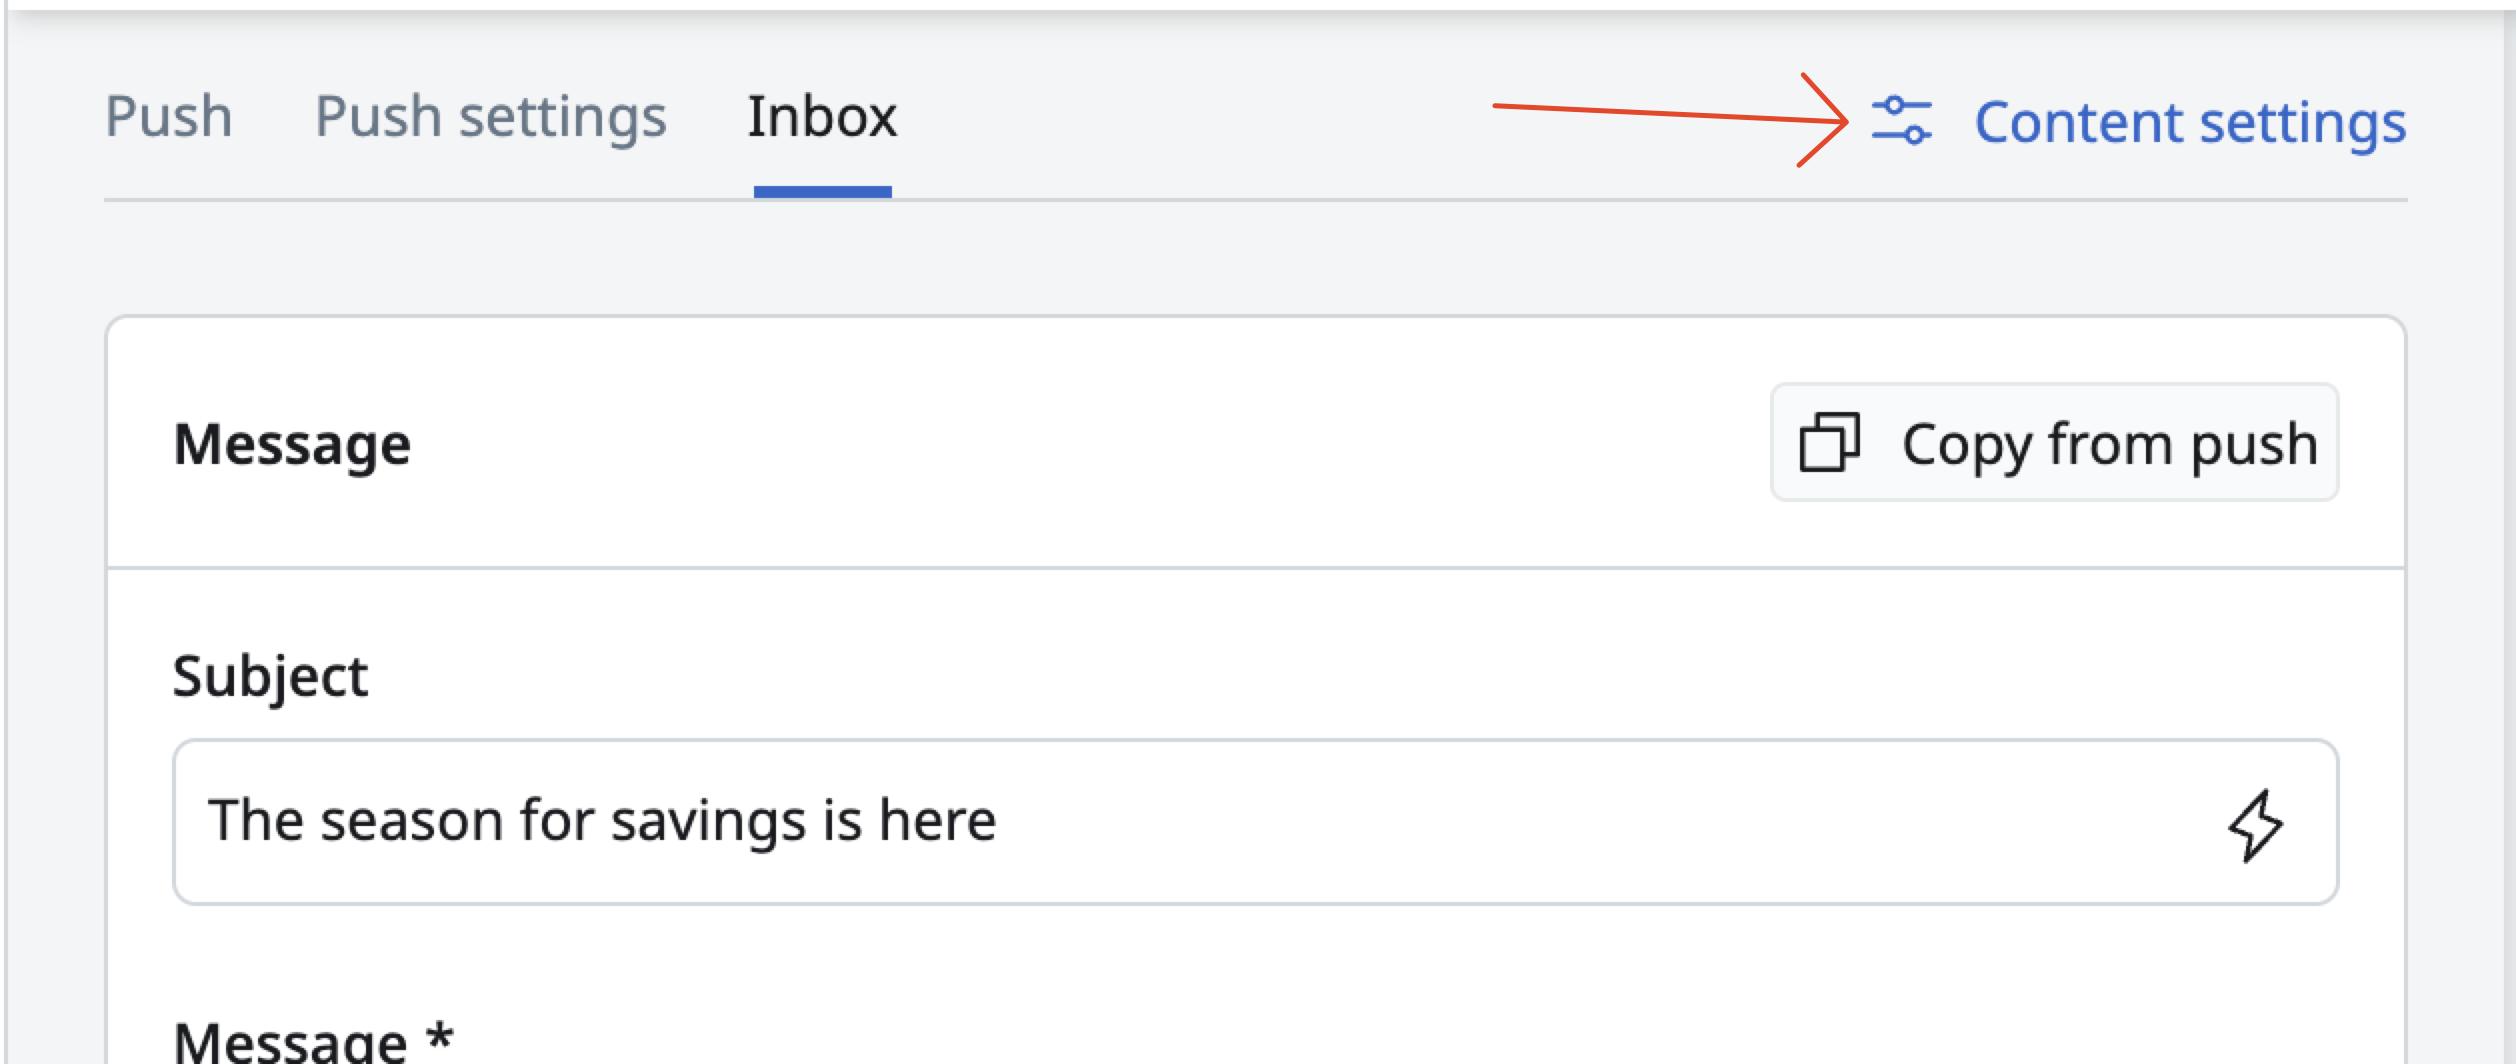
Removing Inbox content from a template
In the event you need to completely remove the inbox content from a template, the available template channels can be adjusted in the Content settings option.
Preview and QA Inbox content
-
In the preview panel, toggle between the sample UI rendering for marketers, and the JSON payload sent to Swrve for developers.
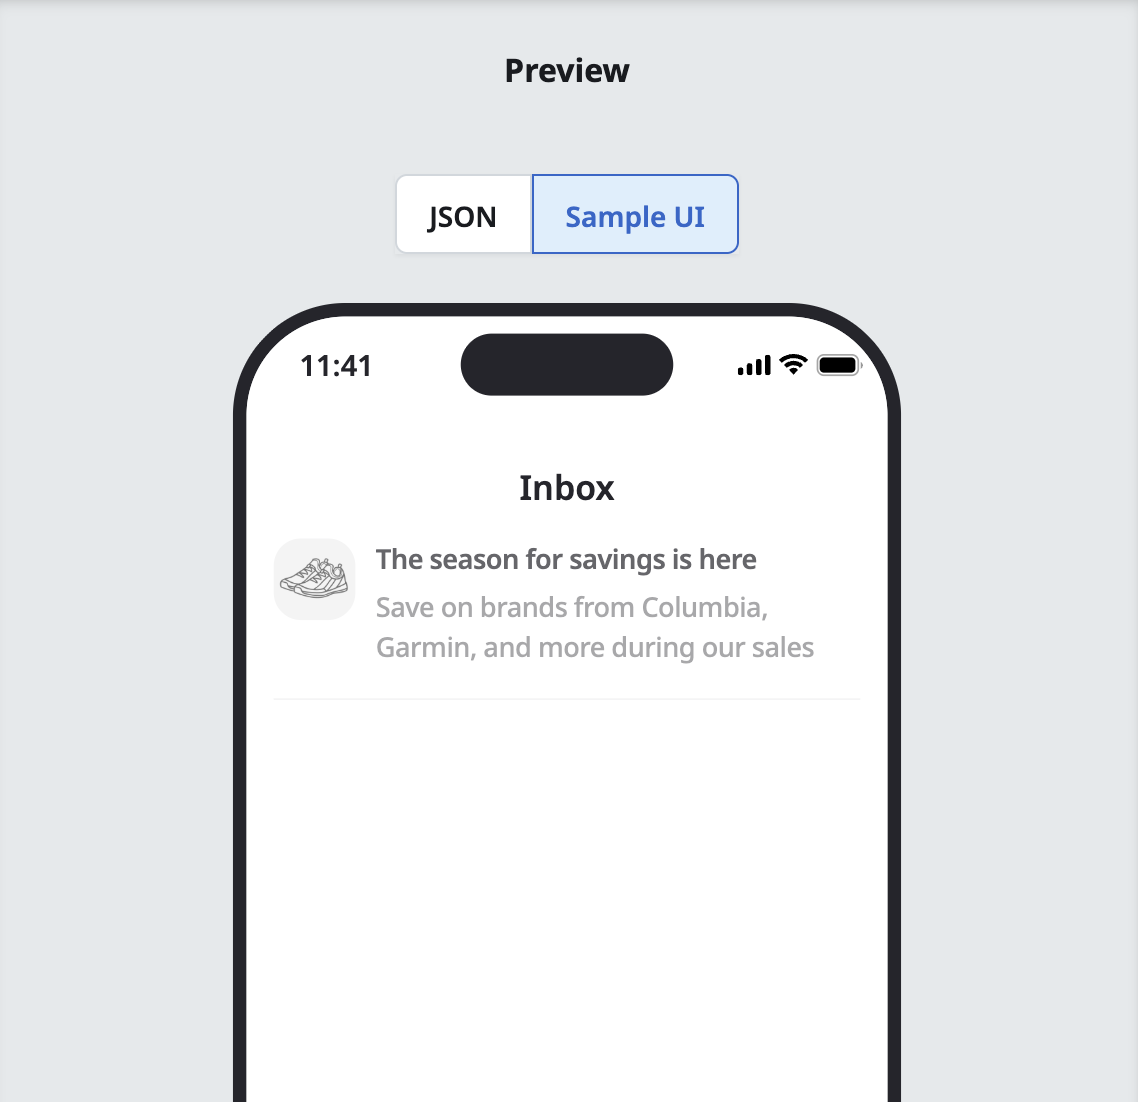
Inbox preview showing sample UI rendering 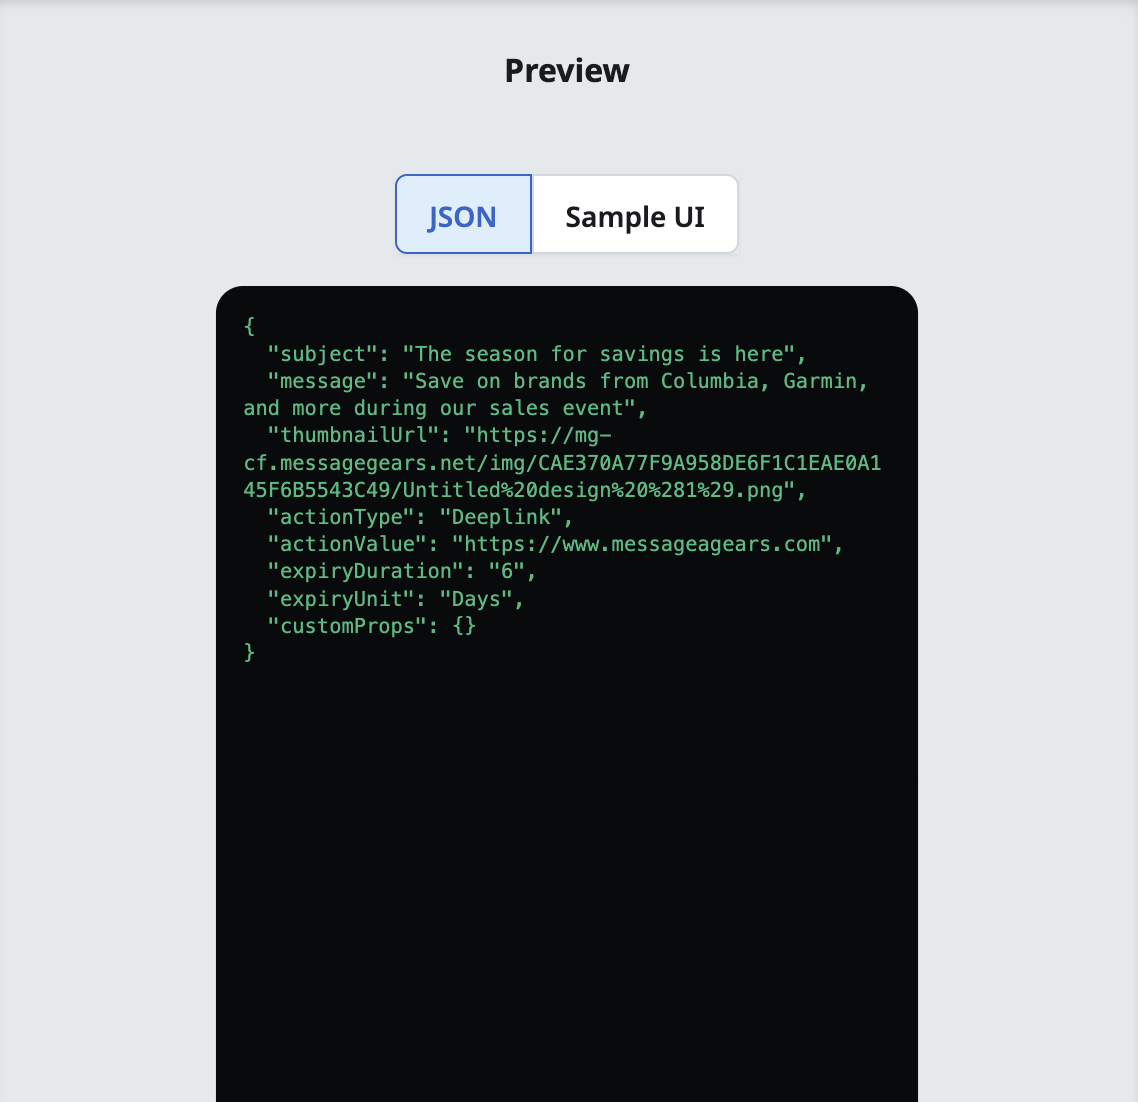
Inbox preview showing JSON payload noteThe sample UI is a depiction only. Actual appearance depends on the customer's own SDK implementation of the inbox surface.
An illustrative shape of what gets delivered to the app looks like this:
{
  "subject": "Your order has shipped",
  "subtitle": "Order #48213",
  "message": "Track your package and estimated delivery date.",
  "thumbnail": "https://cdn.example.com/order-shipped.png",
  "action": {
    "type": "deeplink",
    "value": "myapp://orders/48213"
  },
  "expiry": "2026-08-15"
}
-
Select Preview & Test for further testing across template channels
- Send a test message: select one or more Inbox QA devices, kept separate from push QA devices, to send test Inbox messages.
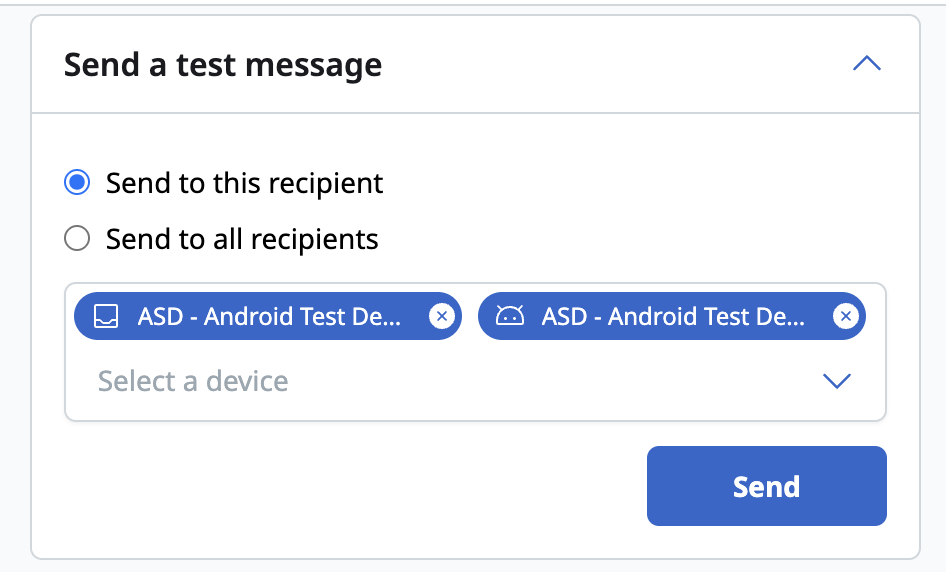
Send test message to QA devices
Send Inbox content
Inbox content reaches recipients through single and multi-channel campaigns.
-
To send Inbox content, select the Push notification option and select either Inbox or Push & Inbox.
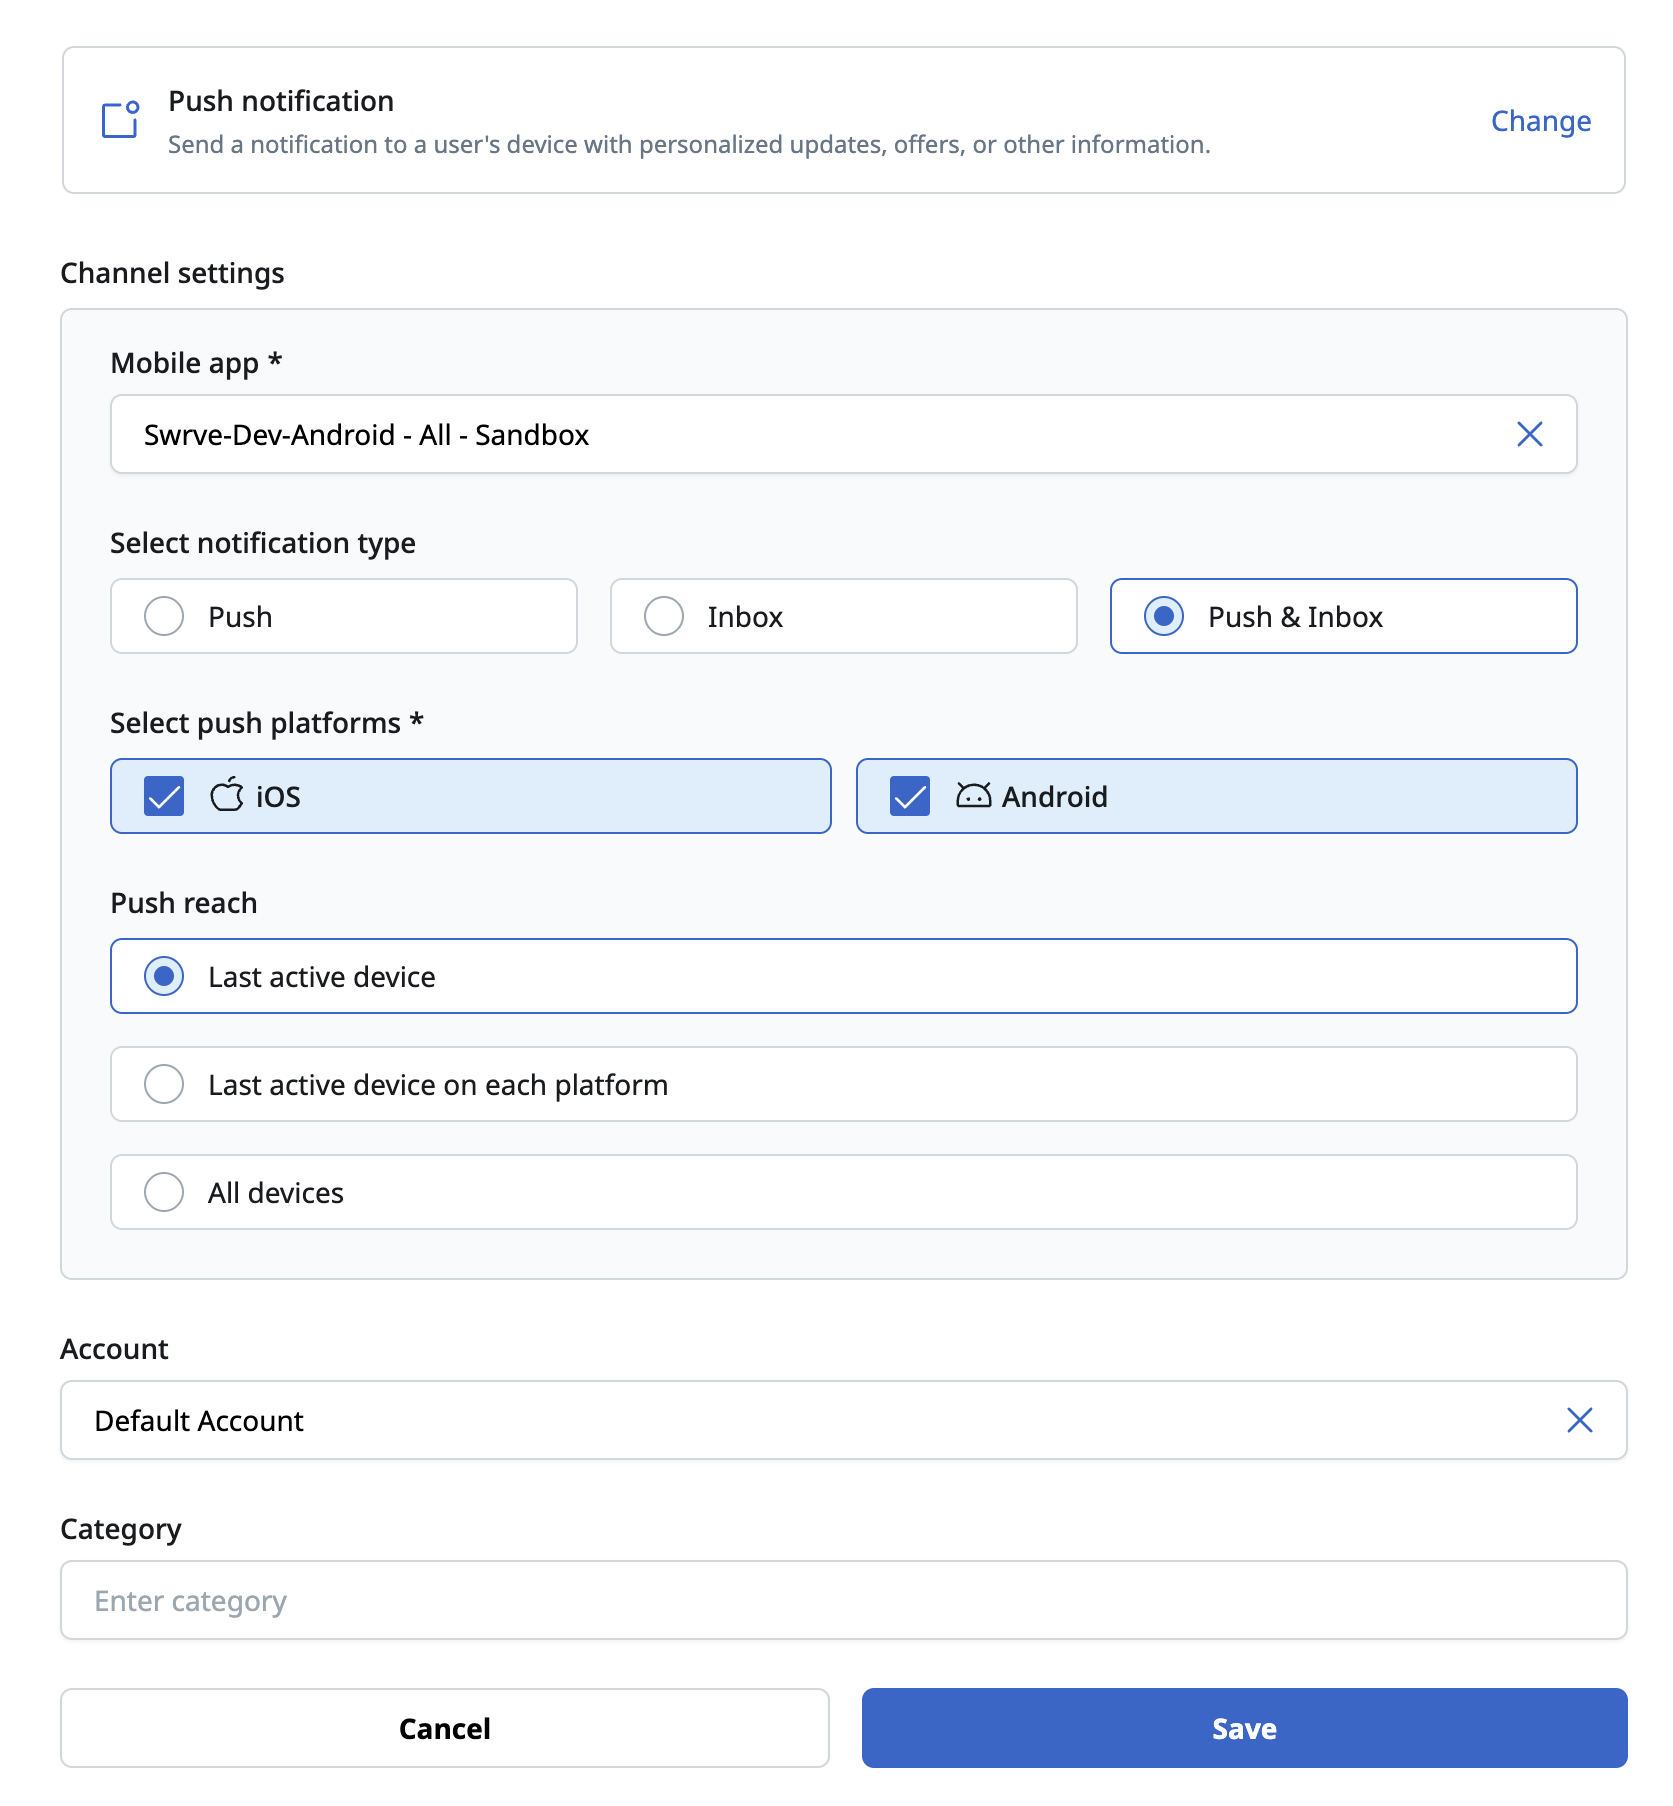
Channel tile selection for Inbox campaigns
Inbox analytics
Inbox analytics are available in Accelerator version 26.3.3.
To see how recipients engage with your Inbox messages, filter your analytics by the Inbox channel. Accelerator reports Inbox separately from push, so a Push & Inbox campaign shows results for each channel.
Inbox metrics
Job analytics groups Inbox metrics into two tabs:
- Deliverability - Job size (the number of recipients for the Inbox channel), Suppressed, Deliveries, Bounces, and Content errors.
- Engagement - Read, Deleted, Total clicks, and Unique clicks.
Where to find Inbox analytics
- Job list - To list jobs from campaigns that include Inbox content, select Analytics > Job, then select Inbox in the channel filter. The list shows each job's Start Date, Campaign name, Deliveries, Clicks, Read, Suppressed, Bounces, Status, and Job Size, and you can sort by any column. To open a job's analytics, select its start date.
- Job analytics - In the Cross channel view, an Inbox row shows the job's Inbox deliverability and engagement metrics. To see only Inbox results, select Inbox in the channel filter. The Inbox view adds a pie chart of unique deliveries and unique bounces, and a preview of the Inbox message.
- Marketing campaign analytics - To list campaigns that include Inbox content, select Inbox in the channel filter. The list's columns change to show Inbox metrics. The Performance over time chart and the 365-day deliveries heat map show Inbox Deliveries, Clicks, Unique Clicks, Read, Deleted, Suppressed, and Bounces. To choose which metrics the chart shows, use the metric selector. The jobs table at the bottom of the page lists each job's Inbox metrics. To open a job's analytics, select its row.
- Transactional campaign analytics - On the campaign's Analytics tab, select Inbox in the channel filter. The Deliverability and Engagement tabs show the same Inbox metrics as job analytics. If the campaign has no Inbox activity, no Inbox metrics appear.
- Performance dashboard - Inbox is available as a channel on the dashboard. For more information, see Performance dashboard.