Athena connection setup
Overview
This article contains guidance specific to setting up an Athena Database Connection. For a general overview on setting up or modifying database connections, see Adding and Managing Database Connections .
Setup
The following step-by-step process will walk you through the creation and management of a new Athena Database Connection within Accelerator.
- Install Athena Driver and Associated Jar Files
- Navigate to Admin > Database Connections
- Create a New Database Connection
When working with Database Connections, it's important to remember that they must be configured before an Audience can be created. Database Connections are the settings and credentials that allow Accelerator to connect to the database that holds the necessary customer data.
Read more about the Accelerator Admin section here.
1. Install Athena Driver and Associated Jar Files
Usage of Athena requires installation of an Athena Driver jar file onto the server instance running Accelerator.
The driver is not bundled within Accelerator. Each client must secure their own version of the driver with appropriate licensing. This can usually be completed by your IT department, but please reach out the MessageGears Support if you should need assistance with this step.
The driver in use is:
Simba Athena JDBC42 driver (ver 2.0.35*)
And the supporting jars that the driver needs are:
- log4j-to-slf4j (ver 2.19.0*)
- log4j-core (ver 2.19.0*)
- aws-java-sdk-athena (ver 1.12.337*)
- aws-java-sdk-glue (ver 1.12.337*)
* Indicates the version number used when certified for production use.
2. Navigate to Admin > Database Connections
Navigate to Admin > Database connections.
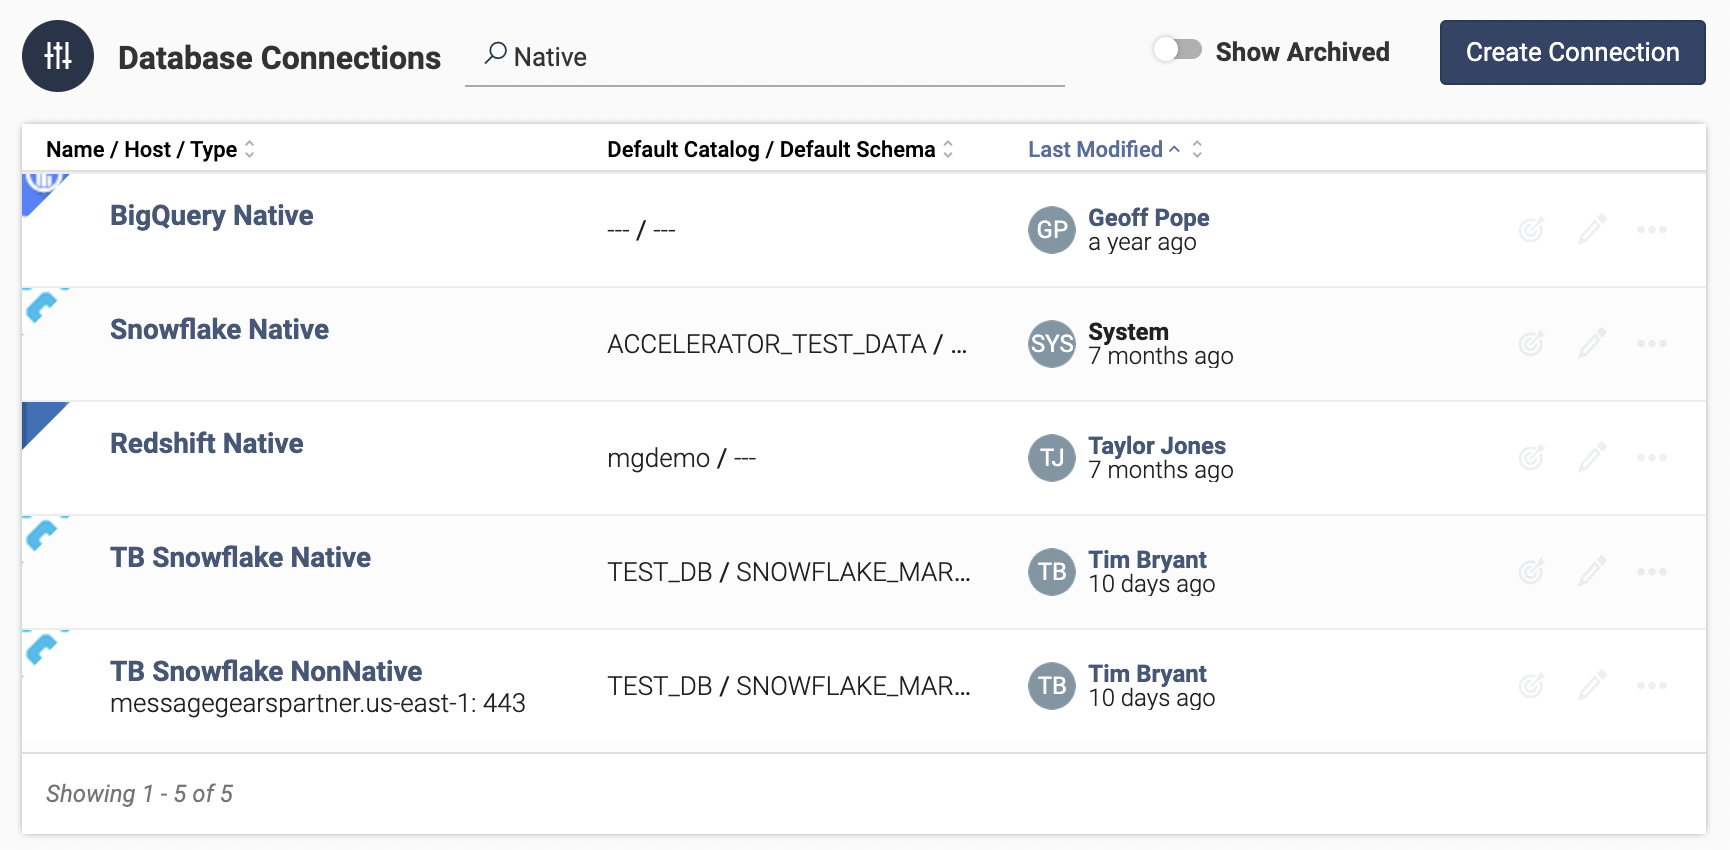
3. Create a New Database Connection
Click the Create Connection button in the top right of the screen to create a new Database Connection.
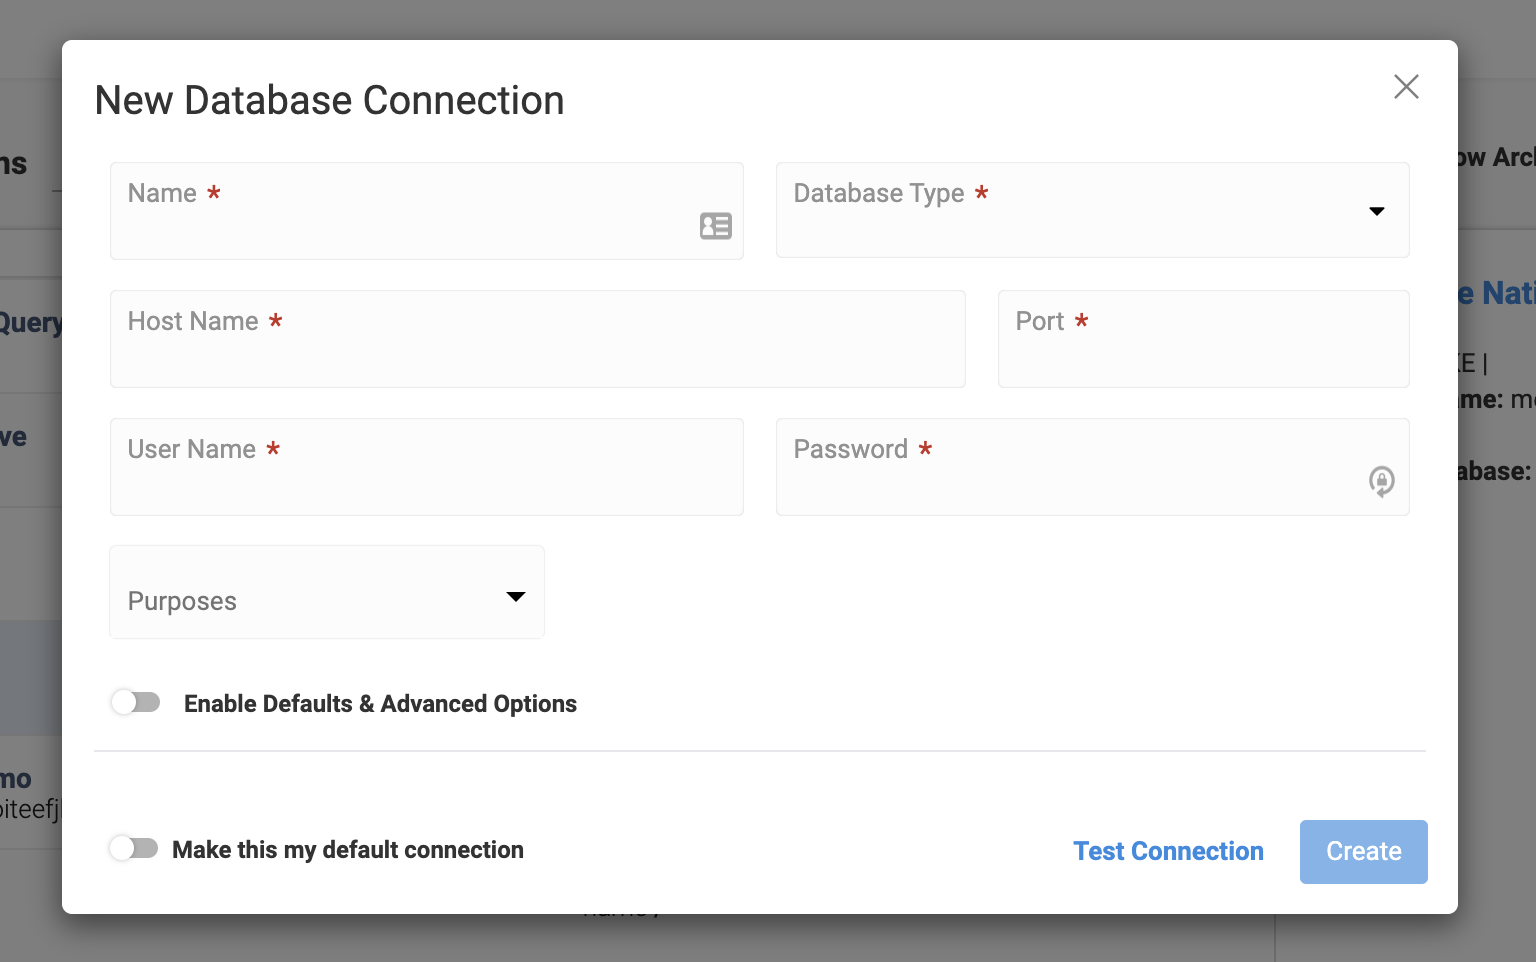
Complete the following fields:
- Name - A descriptive name for the Database Connection. This name will display throughout Accelerator anytime a User can select a Database Connection.
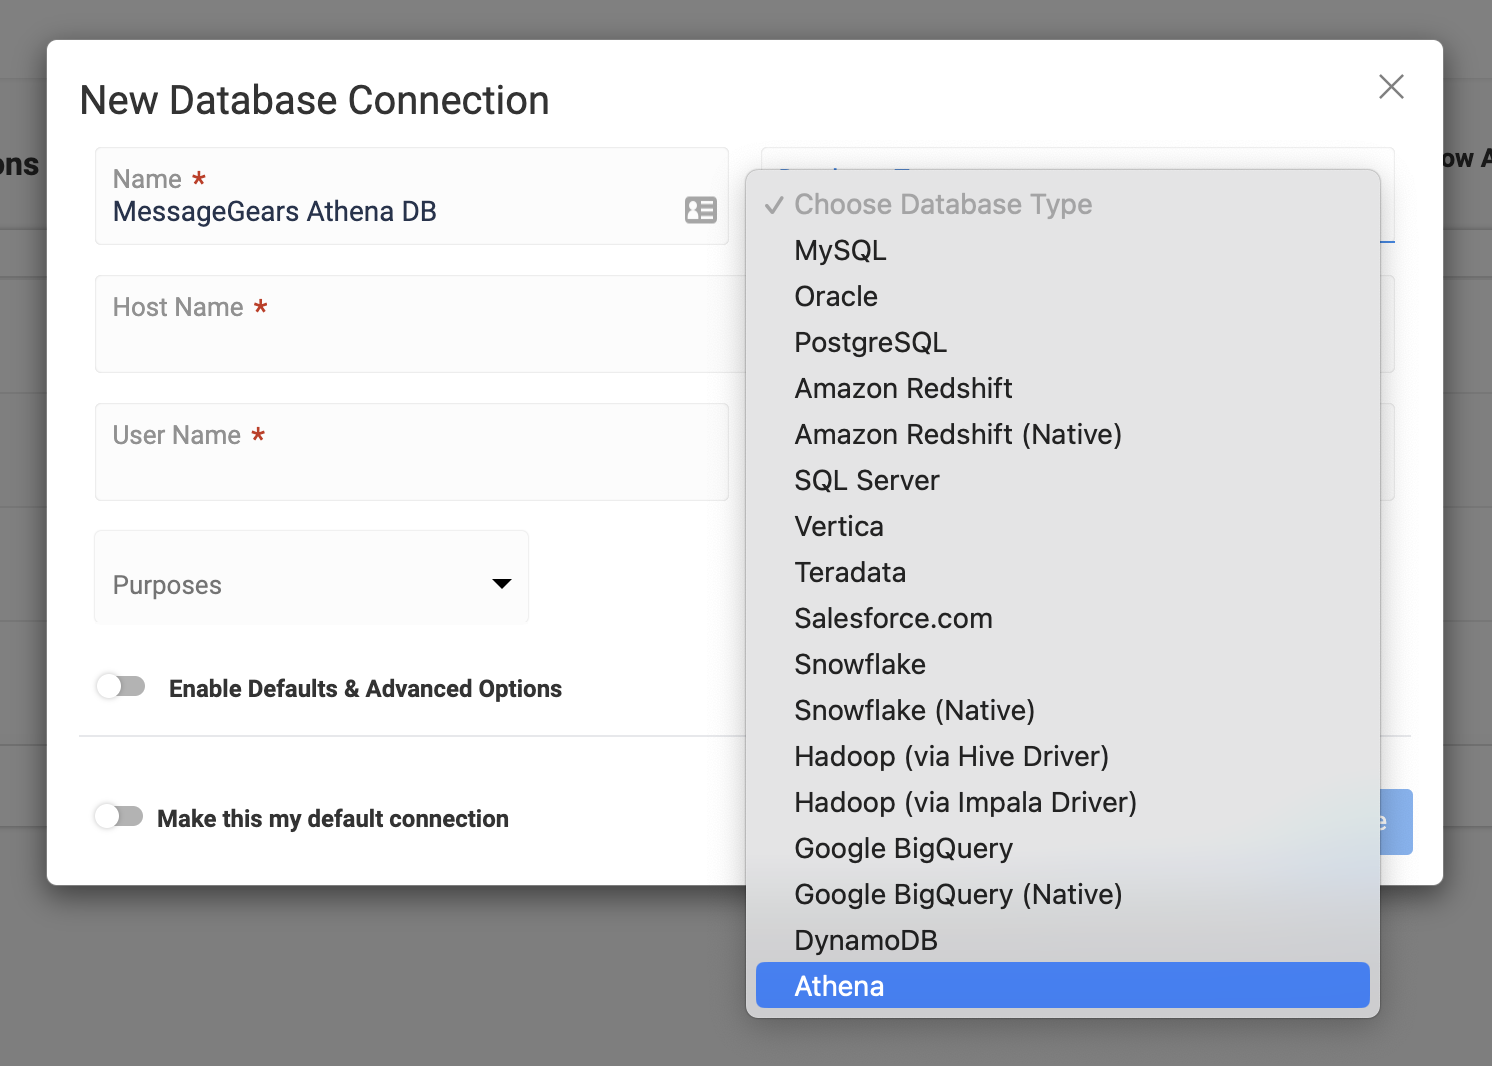
- Database Type - Select "Athena" from the dropdown menu. Note that the remaining fields will change once "Athena" is selected.
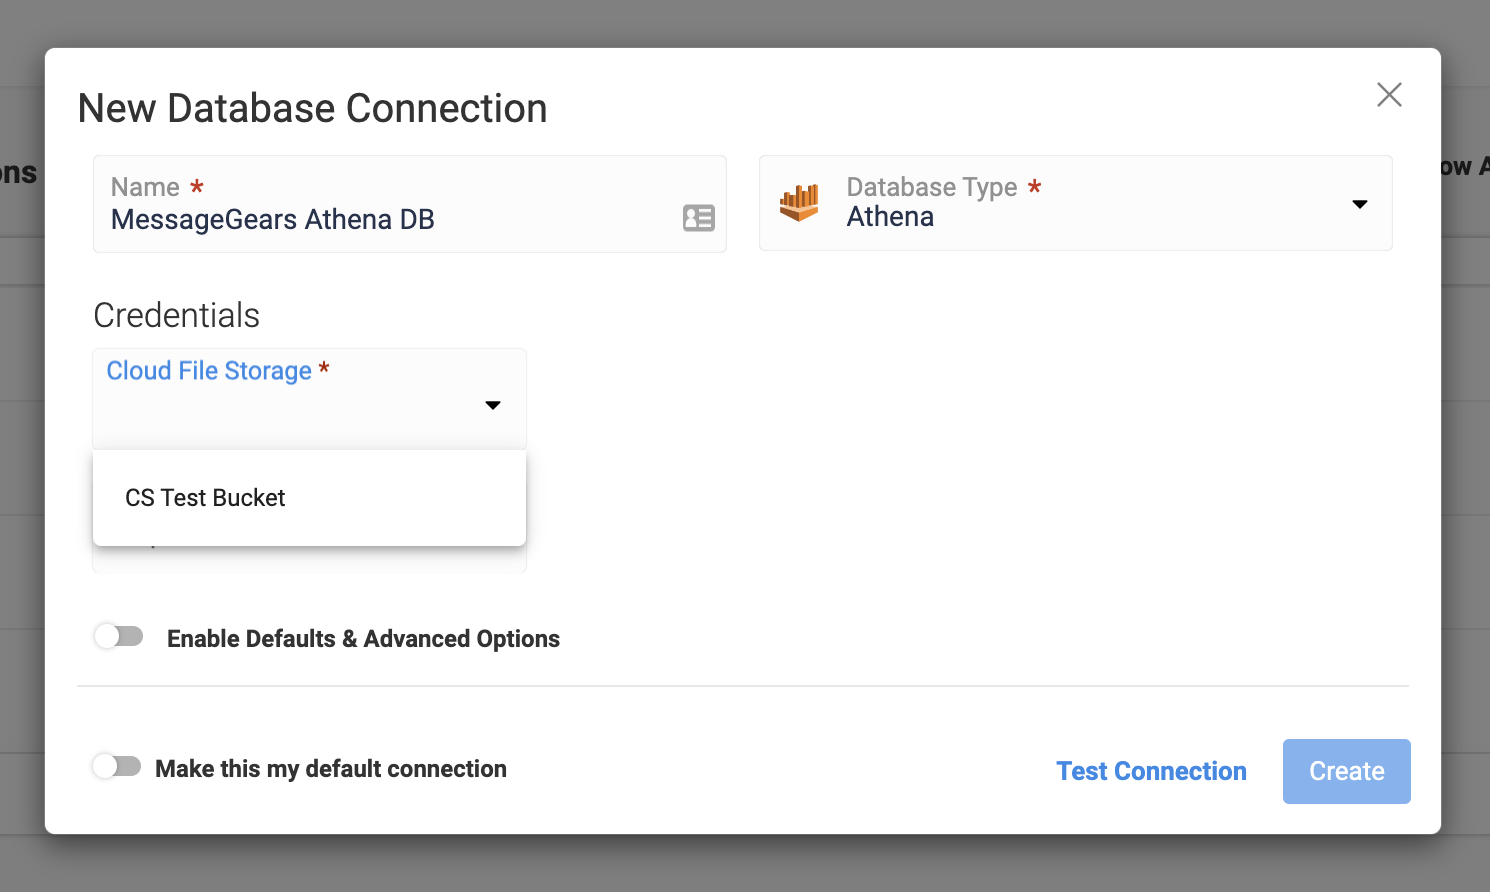
- Cloud File Storage - This dropdown contains S3 Cloud File Storage locations that have previously been set up in System Configuration.
- Athena authenticates using the credentials from the Cloud File Storage you choose here.
The S3 Cloud File Storage location will be used as the output location for Athena query results; write access to the directory is required for the Athena user.
- Purposes - Accessible after selecting a Database Type. The Purposes is a series of checkboxes to control in what situations a Database Connection can be selected. For example, checking the Audience checkbox allows the Database Connection to be used when creating an Audience.
Athena does not support Audience Recording, so Audience Recording is not available as a Purpose. However, files output to S3 as part of Audience Recording may be referenced with Athena.
For additional guidance on the remaining Database Connection settings, see Adding and Managing Database Connections.